Sunday, March 30, 2014

'Cupcakes' for Portion Control

After a few indulgent weeks, I need to get back to the diet (and let's be totally honest, I haven't really been on the diet since January). My biggest problem has always been portion control. I've always thought the trend of using cupcake pans was a fun one - so today, I cooked for the week (and then some) using muffin pans.

I found a neat blog called Emily Bites - which has a tagline of "lightened up comfort food". She has a whole section dedicated to these portion controlled bites. Today I made Hawaiian BBQ Cupcakes, Enchilada Cupcakes and Lasagna Cupcakes. The last recipe is from Hungry Girl - another great website for low calorie dishes.


The filling for the BBQ cupcakes. I was feeling adventurous and made my own BBQ sauce. The cupcake recipe suggested a spicier sauce, so I added a chipotle pepper since I didn't have smoked paprika.


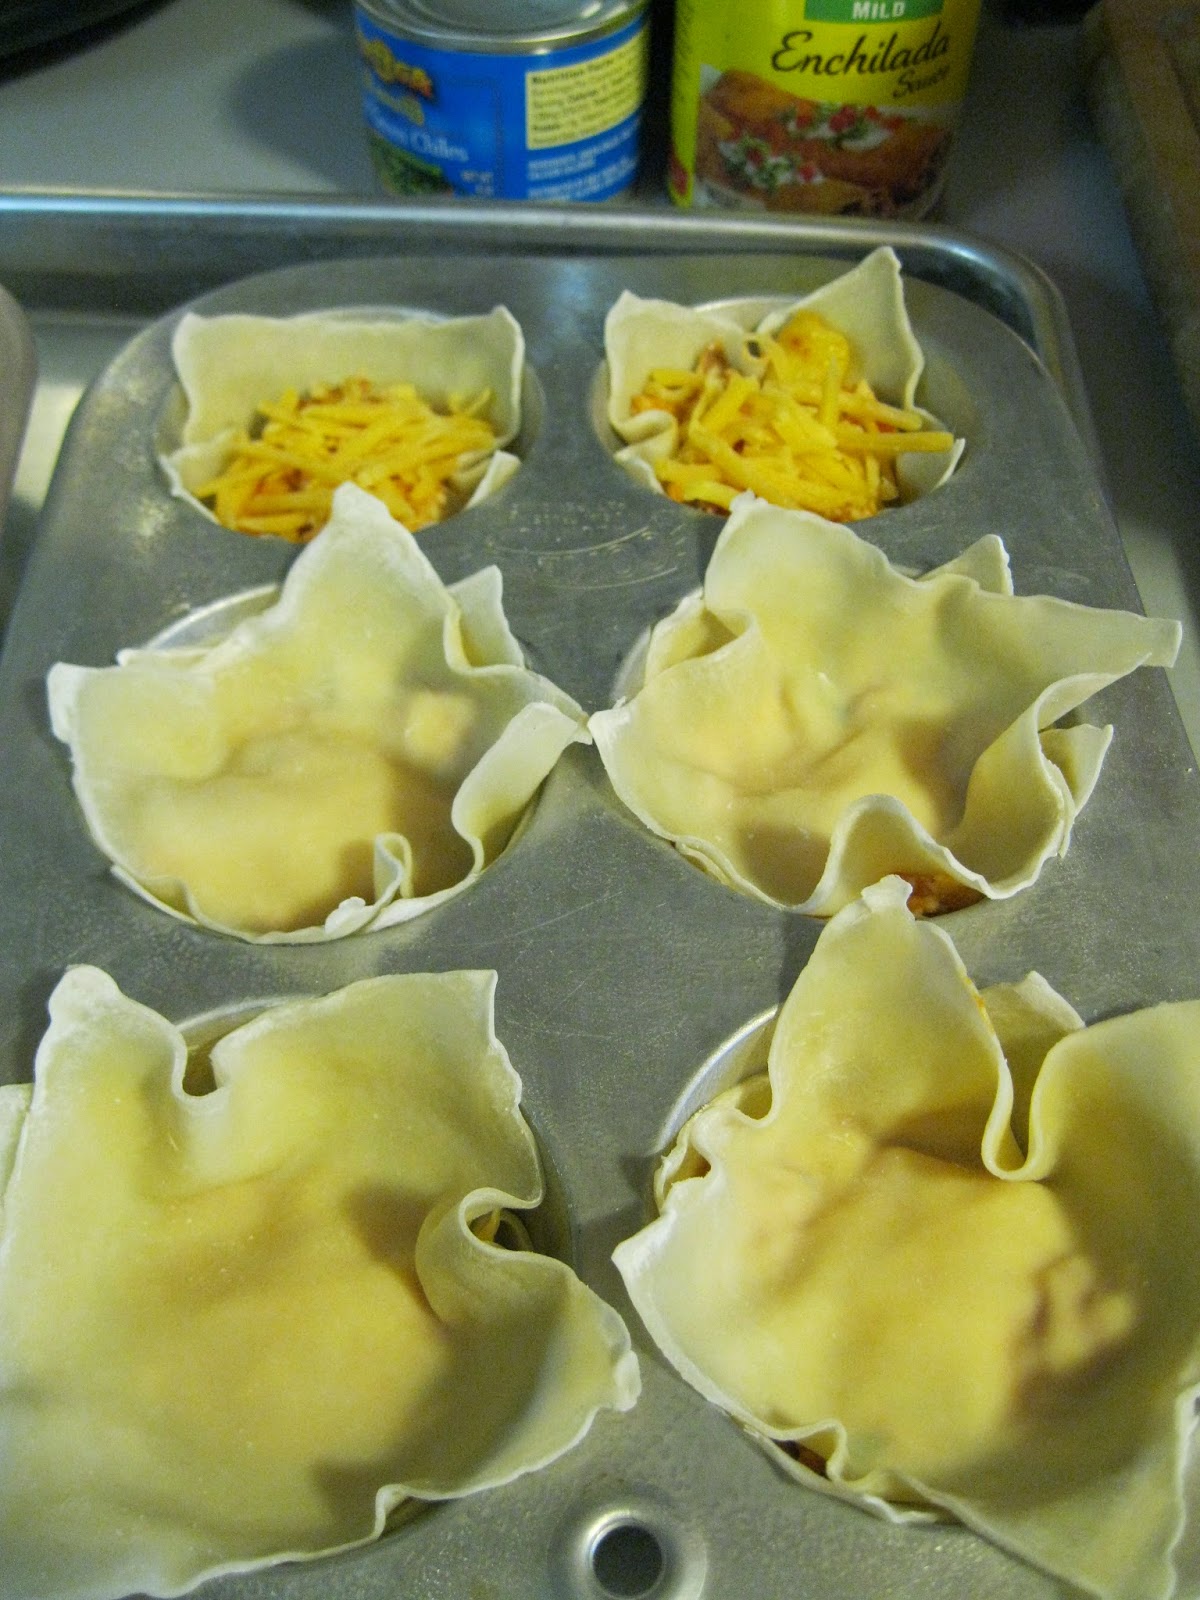
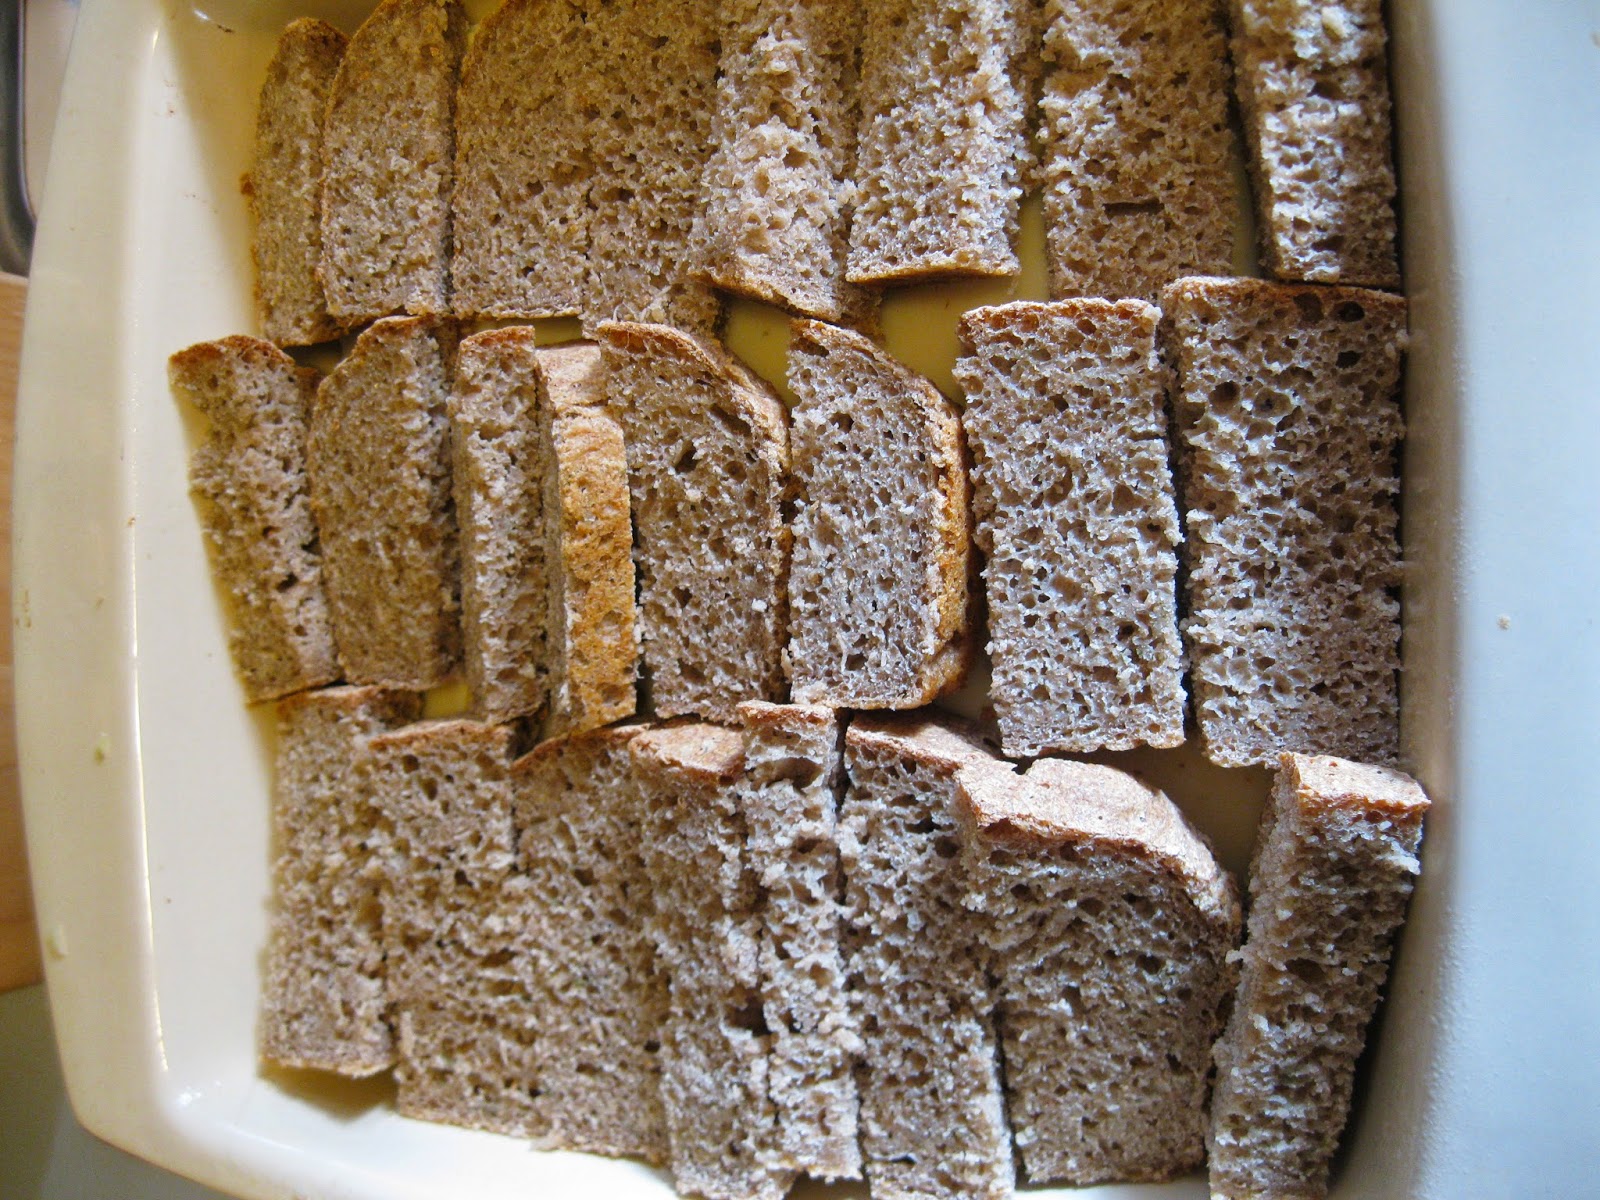
All the cupcakes have 2 layers of the wonton wrappers.


Before the oven - these are the enchilada and Hawaiian BBQ cupcakes.


After the oven - I did the full 20 minutes.


Hawaiian BBQ cupcakes - hard to tell the difference by look between the two...you can see the pineapple in this one, so it's Hawaiian.


Enchilada cupcake.


This is a series of pictures for the lasagna cupcakes - these were more involved than the chicken cupcakes. Ricotta, spinach and egg.


Ground turkey, mushroom, onion, crushed tomatoes.


Cheese, of course.


After the oven.

Some thoughts - the chicken cupcakes were not as moist as the lasagna cupcakes - which made them easier to get out of the pan. Plus they were very simple to put together, especially if you had chicken already cooked. That would make it an easy weeknight meal - particularly since it only takes 15-20 min for them to cook. Add a salad and you have a rounded meal.

Now, to figure out what to do with all that BBQ sauce, and a half can of enchilada sauce, and green chiles. That's one of the down sides to all this portion control, you only need a little of this or that. If I do, I'll let you know!

Monday, March 24, 2014

Sauerkraut Slaw

A word of warning, I'm going to get a little crunchy-granola on you for the next few posts. Last fall, when I was getting into fermenting, I made my own Sauerkraut. I've kinda forgotten about it because, mainly I don't really eat it. My mother can't stand the stuff, so I never had it growing up. However, if you are into fermenting, sauerkraut it the holy grail. It basically ferments itsself. You don't have to add any water to pickle it, it makes it's own water. Amazing stuff really.  


Here's my kraut. It's a pretty simple process. You shred a head of cabbage. Add 1 T caraway seeds and 2T salt. Now comes the fun part - take a wooden spoon, turn it upside down and beat the crap out of the cabbage. You could also use a woden mallet or meat pounder, but I don't have those. After your 10 min arm workout, pack the cabbage in your jar and wait. Keep it at room temp for 3 days then transfer to cold storage, ie the fridge. So that's where mine has been for about 4 months now.

So what made me bring out the kraut? Well for one, I found that recipe for Reuben Casserole I made with the St Paddy's left overs. For another, I was reading ShopSmart by Consumer Reports of all things, and there was an idea to use the kraut in a slaw.


Sauerkraut Slaw
1 part sauerkraut
2 parts shredded cabbage
2 carrots, grated
1 apple, grated
apple cider vinegar to taste
olive oil to taste
pepper

The article was more of an aside, so I put in what I thought would be a good ratio of things. The idea is to temper the kraut with fresh cabbage - so I used a 2:1 ratio of fresh to fermented. I think it could have used more apple, but I only had 1. I put everything in a bowel and added a few glugs of vinegar and a few glugs of oil. This is all very scientific, I know.

I actually liked this salad. The vinegar kinda covered the tang of the sauerkraut with tang of vinegar. I think more apple would have been nice, so something to think about for next time...which there will be a next time as I still have a lot of sauerkraut left over - even after the casserole and slaw. Good thing it pretty much lasts forever!!!


Homemade Mayo

Yesterday, we made yogurt cheese to get to the whey. Now most people would just throw out the whey - Nourishing Traditions adds it to homemade mayo to extend the shelf life (well, refrigerator life) from just 2 weeks to months. 


Mayo (from Nourishing Traditions)
1 egg
1 egg yolk
1 tsp mustard
1 1/2 T lemon juice
1 T whey
3/4 - 1 cup oil
pinch salt

Put first 5 ingredients in a food processor and process until blended. With processor on, slowly stream in oil until thickened. Taste for seasoning and adjust with additional salt or lemon. Place mayo in jar and seal. Let sit at room temp for 7 hours then place in fridge. Makes 1.5 cups.


Now, I can hear some of you thinking "eggs at room temp for 7 hours!?!?" and you would be right to be suspicious. The thing is that by adding the whey and letting it incubate, you get lactic acid and that inhibits other (i.e. bad) bacteria from growing. What is also good, is that fermentation delays the oxidation of unsaturated oils because the bacteria consume all the oxygen. Another benefit of using the whey is that it thickens up the mayo. Now be smart - if something starts growing in your mayo or it starts smelling off...throw it out!!

You can make the mayo without the whey and you would then just place in the fridge directly. I didn't specify what kind of oil to use - one time I used all olive oil - too strong. The next time, I did mostly canola oil and some olive for flavor - better. The mayo is a nice yellow color from the egg and oil - so you know it is homemade! This is thinner than your store bought mayo - word of warning. But the loss of thickness is replaced with flavor...so I would rather have that! You can use this mayo any way you would traditional mayo. I have not cooked with it yet, so I'm  not sure how it would hold up in a casserole or dip; but it works well so far on sandwiches and in tuna salad!! Yum, yum, yum

Sunday, March 23, 2014

Yogurt Cheese

I found a new cookbook called Nourishing Traditions. It's premise of this book is interesting because it's a few years old but seems very "now" with recent evidence to suggest our obsession with cutting out fat from our diets and replacing that fat with carbs is actually worse for you than the fat was! One of the mainstays of cooking with this cookbook is that you add whey to a lot of recipes for added nutrition and to utilize the beneficial bacteria in some way (I will explain more what I mean about that in a future post or two). The first process is to get the whey. It seems the easiest way to do that is to make yogurt cheese.


Take a quart of plain yogurt and put in a clean kitchen towel in a strainer over a bowl. You can use nonfat or whole milk yogurt. One thing I have found is that you need to take a look at the ingredient list. I tried to make cheese once and it just wasn't straining - what I saw in the ingredient list was cornstarch - this made it so that the yogurt wouldn't strain - just a word of warning.


You let the yogurt sit at room temp for many hours - most of the day, if you can, until you have cheese. As you can see, that yellow liquid is they whey - keep that! Put the whey in a jar and place in the fridge for future use.


Here's the cheese.


I decided to mix my homemade ranch dip mix into the cheese.


Here's the finished product. I have found that with the addition of the salt from the dip mix, some additional whey will come out - you can pour that off. This stuff is better than cream cheese with a nice tang and can be used endlessly. Stay tuned for ways to use the whey!

Monday, March 17, 2014

Reuben Casserole

How's everyone enjoying St Patrick's Day? I generally make Corned Beef and Colcannon every year, and this is no exception. I usually try to find the smallest cut I can find, since it has just been me eating for the past little while. This time around, I found a recipe for Reuben Casserole. Genius!


First layer is left over corned beef - I started out making the recipe before I really looked at it...so that should be chopped.


Next a layer of sauerkraut, well drained. This happens to be my homemade kraut - I made this a while back and it's been sitting in the back of my fridge...time to use it! But store bought kraut would work here as well - I would suggest the type you buy in the deli section that is refrigerated...better bugs that way, in the good-for-you sense.


Next Thousand Island Dressing, also homemade - this is ridiculously simple to make, don't buy this!


Mix mayo, ketchup and relish until desired color/taste/consistency. Add hot sauce (just a few dashes). That blue jar is the mayo - homemade too (I'll explain how I made that later).


Top with Swiss Cheese, I had slices, the recipe used shredded. Whatever works - this isn't supposed to be complicated.


Then top with rye bread - this is a loaf I made from my Healthy Artisan Bread in 5 Minutes a Day book, a dill rye. But the marble rye that was used in the original recipe looked equally delicious (and frankly prettier).


Put in a 400 degree oven for 20 to 25 minutes, until the bread is toasted and the cheese is melted. Yum!!! It's pretty much an upside down open faced sandwich. I don't know why I never thought of doing this before!! Maybe because after the initial dinner and then the corned beef hash, there usually isn't enough left for a sandwich!! Well I will be planning appropriately for next year...

Sunday, March 16, 2014

Sprouts!

I might have a green thumb after all, well at least growing sprouts is like following a recipe...I decided to do this based on an article I read in the most recent issue of Clean Eating magazine. Seemed easy enough, so here's the process.


Gather your ingredients. The magazine suggested you use cheese cloth, but when I was looking for seeds online, I found sprouting lids that fit on a wide mouth mason jar (with varying sizes of holes that you can change out as the sprouts grow). I don't have a pic of this, but the first step is to soak 2T seeds for 8-10 hours. You can add citric acid to the soaking water in order to limit bacteria growth. I've now done 2 batches of seeds and have found that with the citric acid, things don't grow as quickly. Of note, you can use the soaking liquid for your other plants (but don't use it if it has citric acid in it...my lucky bamboo is not looking so good right now, maybe my green thumb should be revoked?).


Once the seeds have soaked, rise with warm water and prop screen side down to allow ventilation and drainage.


Continue to rinse seeds with warm water twice daily.


Once the seeds start to sprout, you can switch the lid to one with larger holes. Now the sprouts won't come out, but the hulls of the seeds will.


Grow, grow, grow


Once they get large enough, you pour out your sprouts into a large bowl of cold water to wash and stop the growing process. Fish out the rest of the seed hulls then drain on a towel. Once dry, put back in your jar with a venting lid and place in the fridge. These guys don't last very  long - a few days max. If you have ever bought sprouts from the store, you probably already know this.


Here are the little sprouts! I had a 3 seed mix with alfalfa, radish and broccoli. The whole process is pretty quick - 4ish days (including soaking). Since they don't last long after sprouting, you could have jars in different phases of growth so you could have sprouts all the time. If you really like sprouts, that is. For now, I'm doing 1 jar at a time and using them in salads...now on the hunt for recipes that use sprouts! Anyone have any suggestions?

Sunday, March 9, 2014

Sausage, Spinach and White Bean Pasta

I love lazy Sundays. It's nice to think of a dish and have the time to make it. Really this dish came together easily if you had canned beans. Since I decided to cook dried beans, that added some additional cooking time. I never think to make dried beans earlier than when I want to make them, so I usually have to utilize the quick soak method. I did somewhat of a hybrid and poured boiling water over beans in a bowl and covered them for a few hours. I usually cook beans like I make stock - add some celery, carrot, garlic, bay leaf and parmesan rind then simmer for an hour and a half or until tender. There is a great debate about weather to salt the beans or not - I salt them, but I usually undersalt.


1 lb spicy italian sausage links
1 10oz box frozen chopped spinach
1 can white beans, rinsed (or 2c home cooked beans)
zest of 1 lemon
juice of 1 lemon
2 T flour
1/2 c white wine
1 lb orecchette pasta
salt and pepper
fresh grated parmesan cheese

Put a pot of water to boil on the stove. Remove sausage from links and brown in a dutch oven. Once browned, add in defrosted spinach and beans. Add in lemon zest and flour. Cook for a few minutes until flour is cooked. About this time, the water should be boiling and add in pasta - cook according to package directions. Add in lemon juice and wine, cook until slightly thickened. Taste for seasoning and add salt and pepper. Once pasta is cooked, add to sauce and top with cheese. 

It was a very tasty dish. If I were to make this again, I would add herbs of some sort - rosemary or parsley...it just needed something. 

Spread for Bread

You can only eat so much bread unadorned. Since I have been making so much bread lately, I started looking for a fun spread for the bread. Also, I have been trying to get more omega 3s in my diet. When I saw this recipe for Sardine Butter, I thought it would be worth a try. Somehow I have found myself with 3 tins of sardines...only a few weeks ago, I had never even tried them, and guess what? They are actually pretty good! You have to look for canned in oil and boned.


The recipe used salted butter but I only keep on hand unsalted butter...so I added salt. I made this for dinner one night so didn't have the luxury of setting the butter out for a while, so I put it in the microwave. I have found that short bursts (like 5-10 seconds at a time) will turn refrigerator temp butter to room temp butter very nicely. I highly suggest you try this spread. It's not too fishy and was a great addition to home made bread!

Sunday, March 2, 2014

King Cake

Well it's Mardi Gras time (in Cajun, that would be Fat Tuesday). To be honest, it has snuck up on me - but that doesn't mean I can't celebrate with sweets! I'm not sure how the King Cake became so synonymous with Mardi Gras, since the idea of this cake is to celebrate Epiphany - you know, when the 3 kings came to see baby Jesus, generally celebrated on January 6th. Thus the tradition of putting a toy baby in the cake - if you get the baby, you are king for the day! After a VERY long lunch conversation with one of my coworkers about how the baby is creepy, I've decided to leave the baby out of my cake this year. Now this cake is more what you would think of when talking about coffee cake - more like a bread really. The recipe I used is from Emeril, of course. There are two traditional fillings - a cinnamon sugar or cream cheese, of course, I went for cream cheese!!


Dough, before resting. This is a typical dough, where you knead it on the stand mixer for a while.


Dough after resting with filling. I didn't have enough room on my board, so my roll is a little smaller than in the recipe.


Here's the roll before resting. Notice that I didn't do so well with pinching my ends together.


Cake out of the oven. Since my cake was smaller and thus more compact that the recipe, I needed to cook it for longer to make sure it was done in the middle.


The icing. Rather than make colored sugar, I colored my icing in the traditional colors of New Orleans - purple, green and gold.


My iced cake. I can never wait until the cake is cool enough, so it always runs all over...


Here's a look at the inside. The bread has a nice golden color from egg yokes. Yum! Since this is a giant batch, it's coming with me to work tomorrow, you lucky people you!!