Sunday, October 27, 2013

Primary Cooking

What a weekend of cooking! Yesterday I went to a friend's house that lives in the country for a canning lesson. I've made things that go in jars but the whole processing thing I don't do as often. (Processing is the thing that kills all the bacteria so what you make is shelf stable) We had a great time and made apple-pear sauce, strawberry jam, strawberry-vanilla jam, sangria jelly and rose wine and pink peppercorn jelly. Phew!

The fruits of our labor
Maybe the best part of the day (other than spending quality time with my friends) is the bounty from the garden I took home. I'm pretty sure I came home with more than I left.


This is only part of what I took home - I also got a hook squash and 2 butternut squash. My friend was not sure what kind of peppers these were. She said they had a packet of mixed pepper seeds and planted them. These looked like Anaheims to me, so my first order of business was to roast them.


Foil lined sheet pans. Oven at 400 degrees. Roast 20 min, turn, roast 20 more min.


 These are not as black as if you roasted them over an open flame, but that's fine with me. Into a bowl and covered with plastic wrap for 15 min.


 After steaming, peel off skins and take out the seeds. At this point, there are a lot of things you can do with these chiles. I thought I might make a green chile enchilada casserole, but decided to make chili instead. So I put them in the blender to puree.


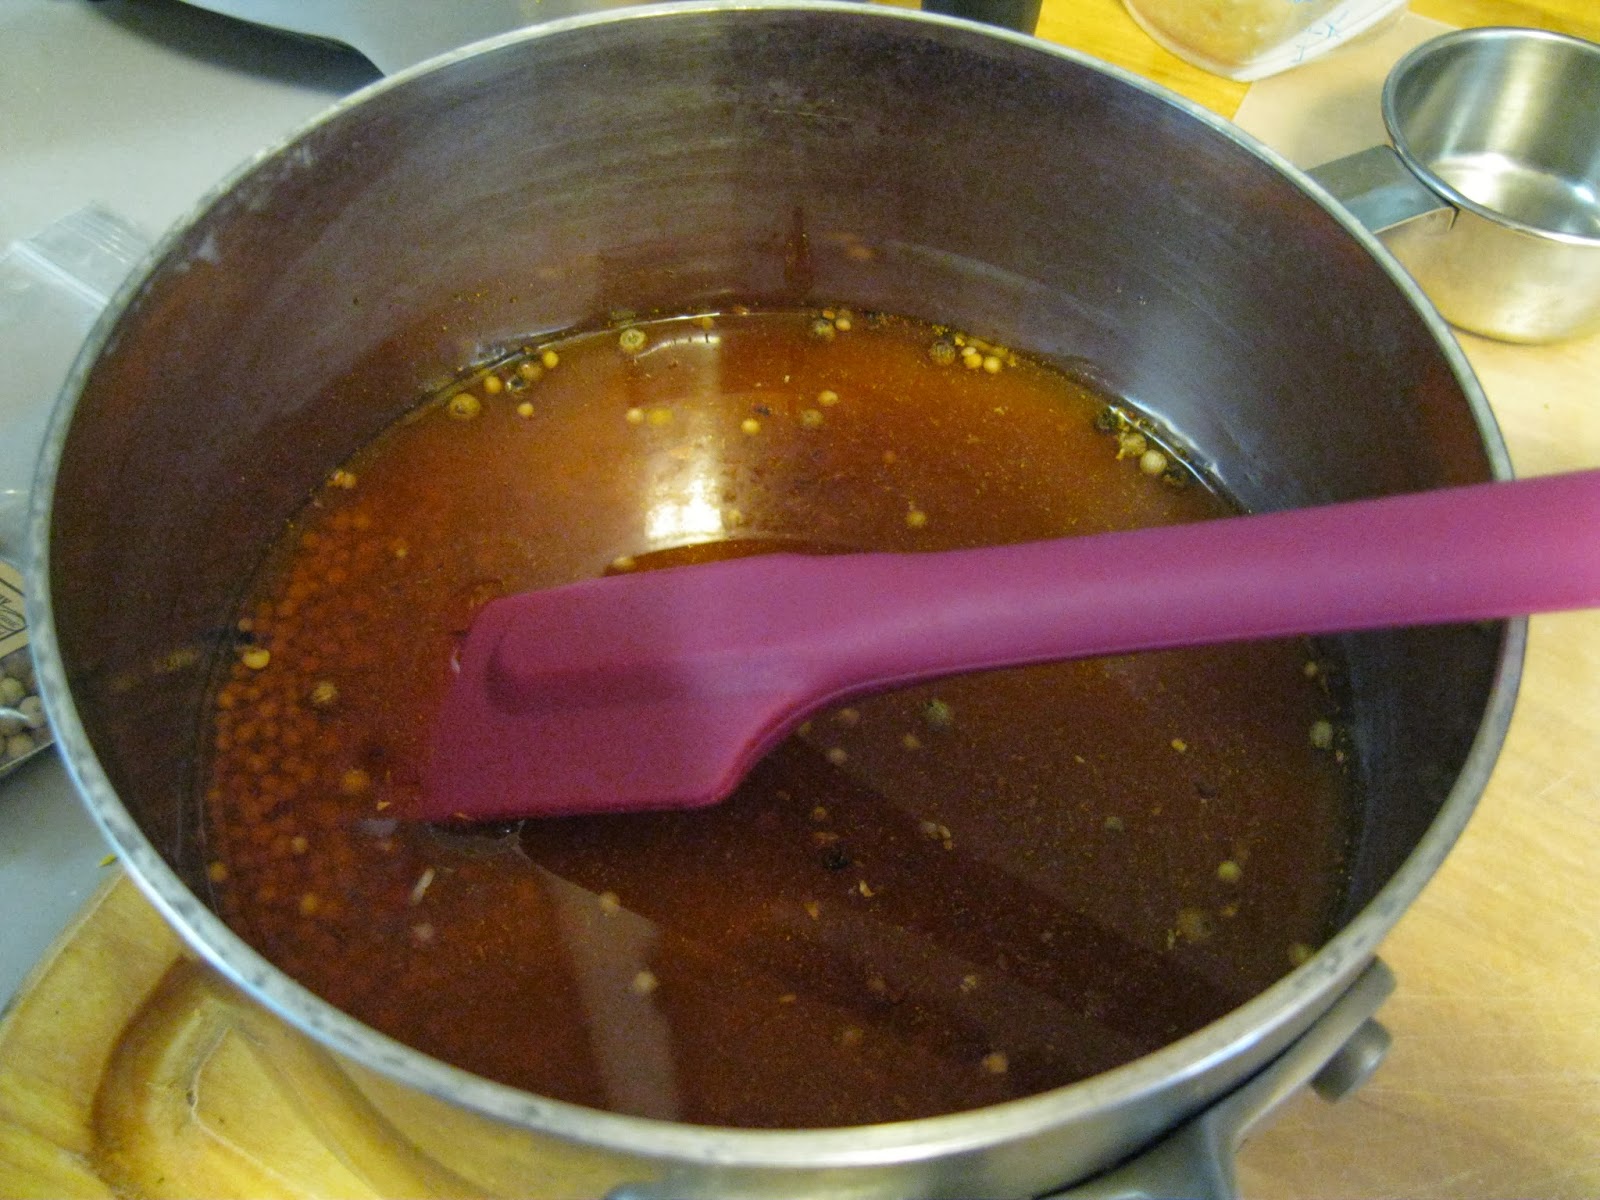
I added some chicken stock so that it would blend easily. Also I added in a few tomatoes.


This was a total concoction. It has ground turkey, chili powder, cumin and onion. Then I added the chile/tomato puree and let that cook down. Then I added in some pureed squash that I also roasted. Tasted good, didn't look so pretty.


Here's the hook squash (that's what I'm calling it at least). My friend said this squash makes the best pies and breads, so that's what I'm planning to use it for. I portioned it all out in 1 cup measures and a 2 cup measure (closer to "1 can") for the freezer.


The tomatoes got blended and cooked down for sauce. It simmered down for half the day - lots of water in those tomatoes! Then I used the sauce for pasta. I browned some onion and a meatloaf mix (pork, beef, veal) then added the tomato sauce. Added some mozzarella and parmesan cheese, and it's dinner!


The best part is that I filled the freezer for practically no money. I didn't go to the store and just used what I had on hand or in the freezer. This is totally a windfall!! My mom calls this type of cooking primary cooking - taking raw ingredients and making sauces to put into other dishes. Sure, going to the store and getting it in a can is faster/easier, but everything I made is MUCH tastier!


Sunday, October 20, 2013

Pharmacy Week Eats

Happy Hospital Pharmacy Week! In celebration, we always have a week full of interesting contests and food. Pharmacy Technician Appreciation Day is on Tuesday and usually the pharmacists bring in food for the techs. We are doing a dessert day and I saw this recipe for Lemon-Cranberry Pie Bars in the most recent issue of Food and Wine. I happened to see cranberries in my grocery store and knew these would be a good addition to the festivities.


Start first with making the cranberry swirl. Cook cranberries, cloves and water until berries pop.


Pour into a blender and puree.


Pour through a strainer and cool to room temp.


While waiting for the cranberry puree to cool, make the crust.


When the crust is cool, make the lemon filling. Add 1 cup of filling to the cranberry puree.


Pour lemon filling into crust and swirl in cranberry puree.


Bake until custard is set, about 40 min (the recipe said 35 min, I found that I needed more time).


Yum, yum! These were just set and tasted kinda like a lemon bar with some cranberry. These need to get out of my house, fast!!

The other thing I made was a Caramelized Onion Dip for Tailgate Day - a potluck. Of course, I had some changes - I tend to stick to the recipe when it comes to baked goods but when you just cook, I tend to make some changes. I ended up cooking the onions twice as long as in the recipe - an hour total, since they weren't brown enough after just a half hour.


Before


An hour later


Let onions cool then roughly chop. In a stand mixer beat cream cheese, sour cream and mayo - I used reduced fat versions of all and a greek yogurt cream cheese. Add salt and pepper to taste - I also added Italian seasoning. Refrigerate until firm. Serve with chips. It has a nice sweet flavor from the onions. Tasty!

Saturday, October 12, 2013

Using Pickled Mustard Seeds and Pickled Kale Stems

So now that I have those pickled mustard seeds, what to do with them? I happened to have a bunch of kale in the fridge - so decided to use the mustard seeds as a finisher. I'm not from the south and so like to do a quick saute of kale rather than the long cooking of greens that is commonly done down there.


So the first thing that needs to be done is to remove the leaves from the stems. You can cut the leaves but I usually tear them up as I remove them from the stems. I also like to give the leaves a quick rinse and don't shake off too much water.


In a skillet, add some coconut oil and garlic over medium high heat. Once garlic is fragrant, add all of kale - it may not fit well in the skillet but it will cook down. Try to toss it so the garlic does not burn. Add salt and pepper. Put a lid on your skillet, turn the heat to low and let the damp kale steam for 15 to 20 min.


As you can see the kale has cooked down. Taste for doneness. As a finishing touch I usually add some red wine vinegar for a bite at the end. Since the pickled mustard seeds had a vinegar forward flavor, I thought this would be a good addition, which it was. I added two big spoonfuls. Word of caution - the white peppercorns in the pickle were somewhat hard to pick out in this setting and I got a mouthful of pepper...so I don't think I would add whole peppercorns to the pickle the next time around.

Now the next question is what to do with the kale stems? Usually I would just throw them out, but I recently listened to an interview of Damaris Phillips (the winner of the Next Food Network Star) on the Alton Browncast where she said she pickles kale stems...so the pickling continues! Seeing this as my opportunity to capitalize on this idea I searched the internet for a recipe and found one on Bon Appetit - plus they are called Sriracha Fridge Pickles!


I was a little hesitant about the amount of sriracha in the pickle but decided to follow the recipe to the letter. Also there was a LOT of sugar so I thought it would calm the heat. I decided to put my bowl with the vinegar and sugar in the microwave so facilitate the sugar dissolving and the pickle was very viscous. My jar was a bit too small for the amount of pickle so there was some that I ended up throwing out.


Into the fridge it goes!


After a few days in the fridge - I had to taste them. Not overly hot, pretty sweet. Actually pretty good for eating right out of the jar. Crunchy, sweet, spicy. It would be a good topping for hot dogs or in a salad or I might continue to just eat them out of the jar! Don't think I will ever throw away kale stems again!

Sunday, October 6, 2013

Pickled Mustard Seeds

To continue on with my pickling obsession, I came across this recipe for Pickled Mustard Seeds. It sounded easy and I happened to have most of the ingredients on hand. I decided to tackle this while I was waiting for the cable guy yesterday - NOT something I wish to discuss at this time - needless to say I have no cable and am significantly irritated at Comcast at this moment.

The recipe calls for 1/2 cup mustard seeds, since I was stuck at home, all I had was 1/4 cup but decided to go ahead with the recipe anyway. Also, I don't have any white wine vinegar or rice wine vinegar so used a mix of red wine and apple cider vinegar instead.


First you pickle the mustard seeds at room temp for 1 hour. Turns out a bowl of vinegar on the counter is a great trap for fruit flies - which I happen to have a multitude of since I started with the kombucha, which I have officially stopped making. I wasn't drinking it fast enough and it turned into a chore - tells me it's time to stop.


After soaking, add tumeric, white pepper and red pepper flakes (and fish out the flies). Also agave instead of honey - I added a bit more since I was using a more pungent vinegar. Put on stove and simmer for 20 min, then let cool to room temp.


At this point, the recipe states you should add an additional 1/4 cup vinegar. I didn't since I started out with less mustard seeds. Apparently they will continue to soak up the vinegar while in the fridge and you can add more vinegar at that time.


After spending the night in the fridge, I tasted the result - definite vinegar punch (would probably be less if I used the white wine vinegar) but not too much hot from the mustard seeds themselves. Interesting. I have a pasta that I made for the freezer that is "missing something" and this might be that. Also I've been making tuna salad for lunch lately and this might be a good addition as well. I guess use it anywhere you would use mustard - on a pork loin would be nice.

Tuesday, October 1, 2013

Lacto Fermentation

I seem to be interested in all the cooking fads these days. My newest interest is in fermentation, or rather I have found a new variety of fermentation (see my kombucha post for info on my first plunge into fermentation). I found a recipe on the Kitchn for lacto fermented mixed veggies. Sounded interesting. I make pickles a lot - usually an Asian style with rice vinegar and sesame oil, so I'm used to the idea of pickling. This intrigued me since there is no vinegar. You use a salt brine to discourage the bad bacteria and use the naturally occurring lactobacillus to ferment or pickle your veggies. Sauerkraut is made this way, as well as real dill pickles. You can easily make these pickles in a jar with no other special equipment but I decided to go the extra mile and buy a jar with a hole in the top that would fit an air lock, guess I'm all fancy. Or really, I just got excited about a new kitchen toy.

bell pepper

carrot

cauliflower and spices

add brine and air bubbler


The pickles sit on the counter for a few days, then you start to taste them for doneness - to your liking. A few thoughts - I'm not sure I would mix softer veggies like cauliflower and bell pepper with a hard veggie like carrots in the future. I decided they were "done" when the cauliflower was good, but after I put the veggies in the fridge, I found out that the carrots weren't really soft enough. Live an learn, I guess. Also, the recipe called for 1 garlic clove and when I was pulling it off the head, 2 cloves came instead, so I put both in the jar. I thought there was a bit too much garlic flavor due to this, who knew there was such a thing as too much garlic? So, overall I don't think this batch was too successful. Oh well. Now in the process of making those real dill pickles, will let you know how they turn out!


Bitters

In case you've lived under a rock for the past few years - there is a cocktail revolution going on. Bars all over the country are concocting all sorts of delicious drinks, including house made bitters. I've heard that bitters to a cocktail is like salt to food - it just enhances and makes your drink that much better. Also in my pharmacist mind it's nice to go back to the days of old - when a pharmacist made these sort of elixirs with herbs that were for all sorts of ailments.

I've made bitters before and they are not hard but they do take some time and special ingredients. This time around I made 2 batches out of the book "Bitters" by Brad Thomas Parsons. If you are interested in this cocktail revolution - this is a good read - lots of cocktail recipes as well as tips of what premade bitters are best and some history.

The recipes I made were a House Bitters (like Angostura) and an Orange Bitters. In the pictures, the house bitters have a whiskey base and so is darker. The orange bitters have a vodka base and gradually turned orange.

starting ingredients

everything together

2 weeks later, shaking jar daily

strain out the solids


add water and boil


cool, then add back to jars and let sit for 1 week

strain again and add to alcohol 

add rich syrup and you are done!
So I said it was an easy process but it does have some steps. If you are interested in the recipe or where to get the various ingredients, let me know and I'll send it to you. Since I got this from a book, I"ll let the copyright stand, for now. These are the most common types of bitters you will find in recipes. I think the next kind I will make is a celery bitters for bloody marys!