Monday, January 28, 2013

The Beauty of a Stocked Pantry

Yesterday, after taking a gander in my refrigerator, I noticed that I had a few veggies that were going south. It happens to the best of us. Actually, it happens a lot to me since I can get a bit overzealous at the grocery store when I get on a veggie binge. I've gotten pretty good at whipping up meals that need to use up leftovers or spoiling veggies. So the mushrooms had to be cooked. I was thinking about writing up the recipe I made but realized that it may never be replicated due to these:

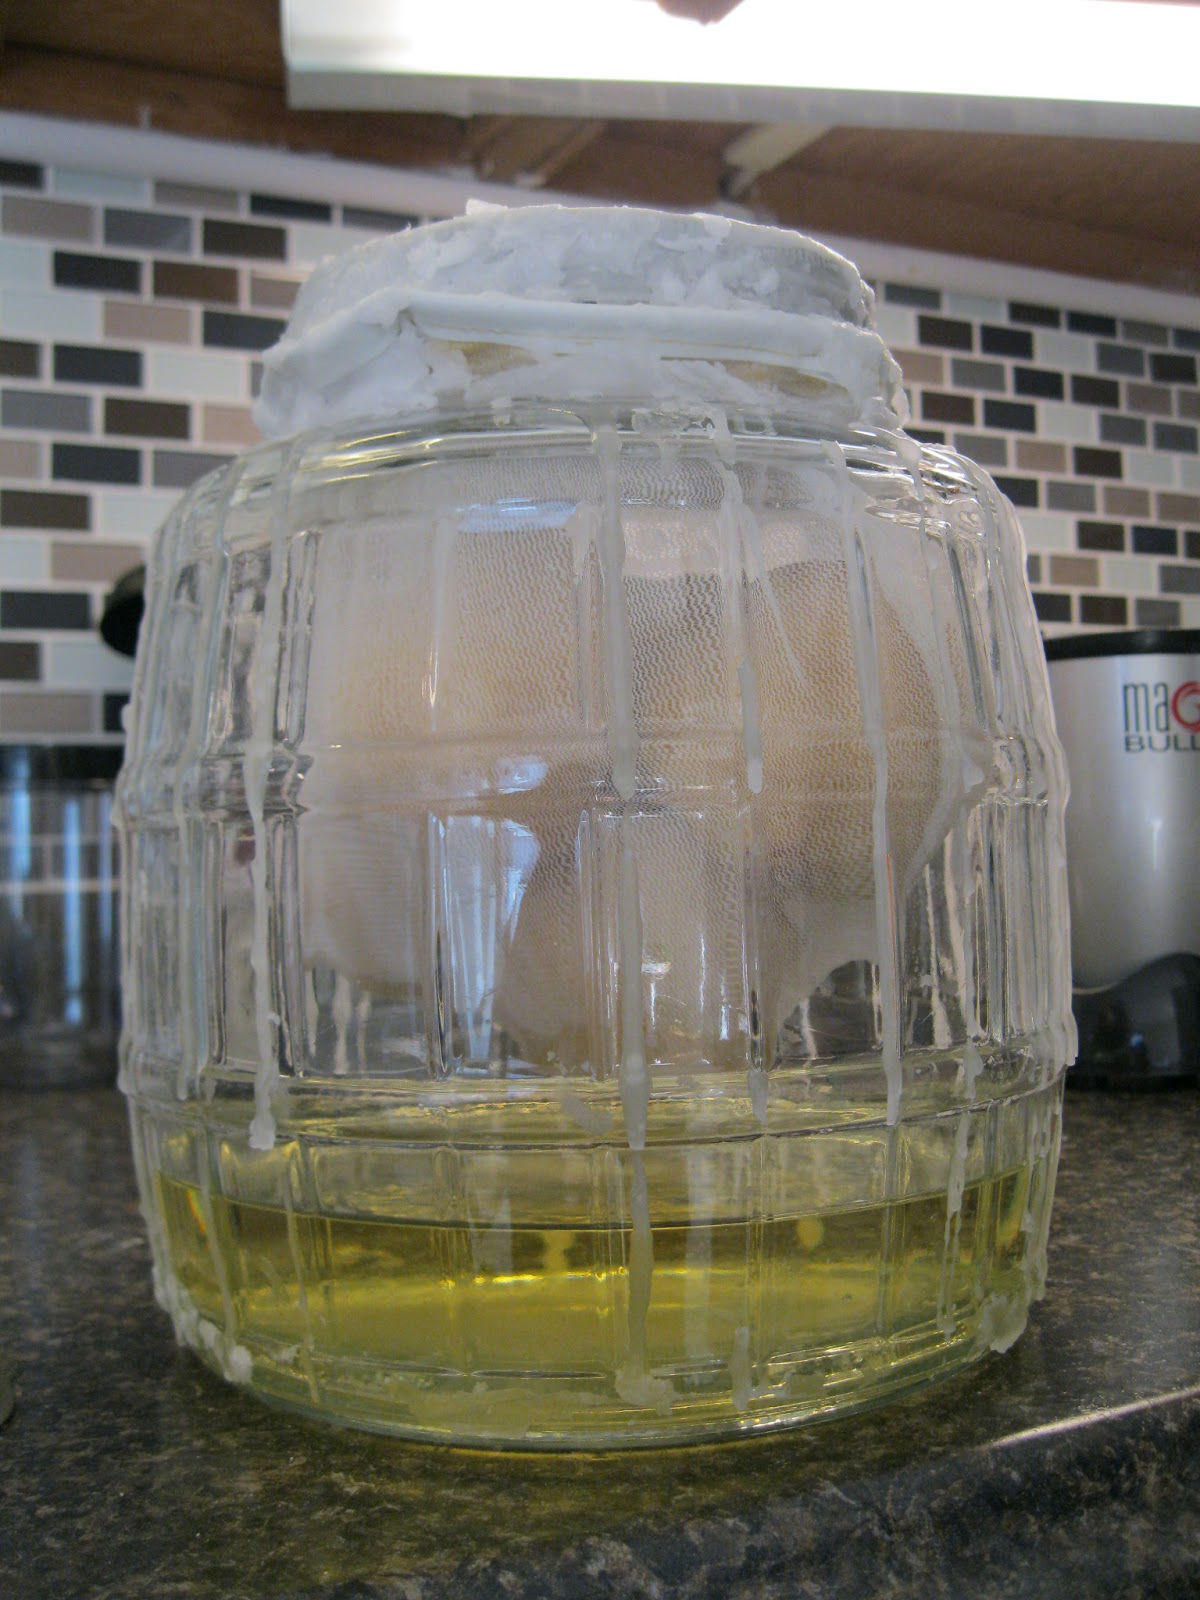
Burgundy Wine and Olive Oil Tomatoes
I found these at Big Lots!, a great store that tends to have the most random assortment of things. I go in there from time to time, it's hit or miss. These were a hit. So that brings me to the topic at hand - having a few staples in your pantry/freezer would make a dinner like this possible.

Italian Style Pantry Pasta
The minute details of what veggies or meat goes into this dish are irrelevant. What matters is the technique in which to make this. Also I took frozen ground turkey and made this in less than an hour, and most of that was simmering time so the sauce would come together.

Basic Pasta Sauce
  1. Start with ground meat of your choice, a pound or so would do. Brown. Add some chopped onion. I happened to have red onion around but any onion will do, 1/2 to 1 whole onion. Add chopped garlic (I have a jar of the chopped stuff in my fridge always). Always add garlic when there is something else in the pan or it will burn. Salt, pepper and dried herbs go here - I'm a fan of Italian Seasoning, I put it in everything.
  2. This is the point you would add veggies. I added a package of mushrooms, chopped and most of a bag of shredded carrots I had for salads.
  3. Next add in a couple of squirts of tomato paste and cook it a little until you can smell the tomato. Yes, I said squirts. I like the tubes of tomato paste. You keep them in the fridge and you don't have to use the whole can of something - they also make tubes of pesto, hot pepper, anchovy and sun dried tomato.
  4. Now add your tomato product of choice. 2 - 14 oz cans or 1 - 28 oz can will do. Whole peeled tomatoes tend to be the least processed, diced tomatoes are treated with something and they don't break down well after being cooked for a while, stewed tomatoes are cooked (I tend not to be a fan of these for some reason). I usually have diced and whole tomatoes on hand always. Some diced tomatoes are a bigger dice than others (they even sell a petite dice). The tomatoes I used in this dish tended to be on the large side, so I made the executive decision to throw an entire can in my Magic Bullet and puree them, great idea. Also, if you were going to add wine to your sauce (a great idea, I didn't add it because there was wine in my tomatoes) you would add it before you add in the tomatoes and after you add the tomato paste.
  5. Now bring the whole thing to a simmer and reduce the sauce. This depends on how watery the sauce was to begin with but 20 minutes or so to start will be good. Taste for seasoning. If it needs salt, add it or pepper or more herbs. If the sauce is missing "something" try a little sugar. I've recently become a convert to this idea. My mother, the ever good German cook, adds sugar to anything that has tomato in it. I spent 6 months in Italy and tend to like the unopposed acid of tomato, but these slow-ish cooked sauces just need something. They taste good but it's just not whole in some way. A few teaspoons of sugar seems to do it, the sauce shouldn't taste sweet, it just rounds it out. Try it next time you make sauce.
  6. While the sauce simmers, boil water and cook pasta of your choice. Before you drain the pasta, take a cup of the starchy cooking water out.  Drain pasta and mix with sauce. Mix with some cheese, if the mixture looks a bit dry, add the starchy water.
  7. Dinner's on!


Here's a tip from Rachel Ray (I seem to be referencing her a lot): Use a potato masher to break up ground meat. Works great!!

So here's what I keep in my pantry: tomatoes (whole and diced), beans (black, kidney, great northern, refried), tuna packets, chopped green chile, enchilada sauce, oils/vinegar, Asian condiments (soy, sesame oil, ponzu, hoisin, sriracha), pasta, chicken bouillon, crackers. In the freezer: ground beef/turkey, potstickers, frozen veggies, brown rice, frozen fruit, green ice cubes, bananas, dried fruit, leftovers. This is by no means a comprehensive list but these are the most versatile items (and what I can think of at the moment). Something to get you started at least!!

Also, the best part of this meal was that I didn't have to leave the house to get a forgotten crucial ingredient!!

Sunday, January 27, 2013

The Great Natural Sweetener Faceoff

I'm constantly trying to make my diet more natural. Bit by bit I'm changing things. This time around it's no calorie sweetener. I've always been a Splenda user but feel that a chemically modified sugar isn't something I want, especially since it goes in my morning coffee every day (for 2 cups). Through my experience on a cleanse, I found liquid stevia, which I really like and use when I'm at home. But I have run into a problem of what to use at work, since we do not have a refrigerator. Thus the face off begins!! Below you will find the contenders:

Pure Via (stevia), Nectresse (monk fruit), Stevia in the Raw
Yes, I know there are 2 stevia products. I wanted to know if there was a difference between the two brands, and I found that there was. I tried to be a scientific as possible buy using the same flavor of coffee and creamer between my two cups of coffee each morning. (Yes, the same problem that is preventing me from using my beloved liquid stevia also precludes me from using liquid creamer. Stay tuned for what I'm doing to make these more natural.)

The results are in!!

I found that each packet had about equal sweetness compared to the other, with the exception of the Stevia in the Raw if it came after one of the other sweeteners. However, if I had the Stevia in the Raw first, then I didn't notice a difference in sweetness. So...it's a THREE WAY TIE!!! I guess the tiebreaker here is cost. At my local grocery store I paid:

$3.19 for 50 packets of Stevia in the Raw (6 cents per packet)
$3.99 for 50 packets of Nectresse (8 cents per packet) 
$3.29 for 40 packets of Pure Via (8 cents per packet)

I'm fairly certain that since I picked the smallest box of packets I could find for each and did not use store brands, I paid more per packet. So when I need a refill on packets, I'll go for the store brand at a big box store, the MOST cost efficient way to get staples like sweeteners.

Stay tuned for what I have planned to replace my powdered creamers!!

Watch out creamer!! You're next!!

Limoncello Week 3

Would have posted this yesterday but was in Harrisburg, PA for a pharmacy conference. Unfortunately, since I was in meetings all day, I have no cool "bumming around Harrisburg" commentary or photos. However, I did come home with this (see below) after having dinner at the Appalachian Brewing Company, highly recommend it!!


Now on to the business at hand...here's week 3.


Thursday, January 24, 2013

Hash Brown Egg Nests

I'm a breakfast lover. "They" say it's the most important meal of the day, I say I love eggs. We had a breakfast at work and of course I had to bring something. I would usually bring something like a strata but that would require that I have to bake it in the morning and trek it the mile or so from the parking lot to the hospital. My second thought were these Hash Brown Egg White Nests from SkinnyTaste. I also was watching the Food Network and saw a recipe for enchiladas on Bobby Dean's Not My Mamma's Meals. So I decided to mix them together, of course!


Green Chile Chicken Enchilada Egg Nests
  • medium to large russet potato
  • small onion
  • salt, pepper, italian seasoning, garlic powder
  • 4 oz cooked chicken, chopped
  • 2 oz canned, chopped green chile
  • salt, pepper, chili powder, cumin
  • 3/4 cup Cabot 50% Reduced Fat jalapeno cheddar
  • 1 carton egg beaters (7 eggs worth)
  • 1/2 cup green enchilada sauce
  1. Preheat oven to 375 degrees.
  2. Grate potato and onion with a box grater. Season with salt, pepper, italian seasoning and garlic powder to taste (a good sprinkle or two). Line a well oiled muffin tin with about 1/4 cup potato mixture, make sure to evenly press down mixture making a nest. Bake for 20 minutes, or until brown.
  3. Meanwhile, mix chicken, chile, salt, pepper, chili powder and cumin. Adjust seasoning to taste. Evenly distribute mixture among the cooked nests (a heaping spoonful or so). 
  4. Mix egg beaters and enchilada sauce with a pinch of salt (I mixed 1/4 cup enchilada sauce with 3/4 cup egg in my mixing cup x2 so I could easily pour into the muffin tin). Pour evenly on top of chicken, until almost to top of muffin tin (I found I had about 1/4 cup of egg left over). Bake for 20 minutes, or until eggs are mostly done. 
I purposefully undercooked these a smidge, as I knew that I was going to warm these up in the microwave to serve. You could cook these a little longer if you want to eat these directly out of the oven. These were sooo delicious!! Not to spicy and full of flavor, home run. Yum yum yum.

Tuesday, January 22, 2013

Granola

I'm a big fan of yogurt. There's something about the cultures that calm my "sour" stomach. Seems that I inherited my Grandpa Bob's stomach. He fixed his with a glass of buttermilk a day, I fix mine with yogurt. I've had many different types of yogurt but have found that I really like the thickness of greek yogurt. Now I have a snack of plain nonfat greek yogurt, agave and granola most days and find that my stomach doesn't give me too much grief.

I tend to be picky about my granola, thinking that most commercial varieties have too many calories and fat. They also have ingredients that I don't really like in my granola, like raisins or chocolate or coconut. All good ingredients on their own, just not my favorite mixed in yogurt. I found this recipe while I was on the Best Life Diet, and have been making it for a few years. I keep it pretty much the same but tend to add in whatever dried fruit I'm feeling at the time. Also this is a granola that I can't burn, another plus, and that surprise of ginger is a nice touch.


Low Fat Fruit Granola 

4 cups regular rolled oats
1/4 cup unprocessed wheat bran
2 tablespoons canola oil
1/3 cup maple syrup
1 teaspoon vanilla extract
1/4 teaspoon almond extract
1/2 cup sliced almonds
1 cup dried fruit (cranberry, cherry, apricot, apple, etc)
2 tablespoons chopped crystallized ginger


Preheat the oven to 325 degrees F.

Combine the oats and bran on a large baking sheet.

In a small pan over medium heat, stir in the canola oil, maple syrup, and vanilla and almond extracts. When the mixture begins to bubble, pour it over the oat mixture and mix well.

Bake for about 10 minutes. Add the almonds and stir the mixture thoroughly. Continue to bake until the oats and almonds are lightly toasted, about 10 minutes more, stirring again halfway through.

Stir in the rest of the ingredients.

Bake until the oats are crisp, about 5 minutes longer.

Remove the pan from the oven and stir the mixture. Let the granola cool for 5 minutes, then stir again.

When completely cool, store the granola in an air-tight container for up to 4 weeks. Makes 24 - 1/4cup servings for 108 calories a serving.


Monday, January 21, 2013

Poached Chicken and Stock

I love to cook but find it hard to cook for only one person. So I find that I expend a lot of energy cooking many things in 1 day to get ready for the coming week or so. Lately I've been on a salad kick and like to use chicken as my protein of choice. The past few weeks I've baked chicken breasts but with having to make the Pho, I thought having chicken stock on had would be nice as well. So poached it was.


For chicken this week, I used a 4lb bag of frozen chicken thighs. I just put them in the pot (still frozen) and added water to cover the chicken. To make the stock more flavorful, I added an onion, celery, carrots, garlic cloves, lemon, salt, pepper. Then bring to a boil, turn down the heat to let the pot simmer uncovered. To poach these from frozen, I cooked the chicken for about 45 minutes.

Take the chicken out of the pot and set aside to cool. Also take out all the solids from the pot with a slotted spoon. Strain the stock into a bowl and set aside. 

Now I took this the extra mile and took the chicken bones (after I shredded the chicken and discarded the skin) and boiled them with salt, pepper, bay leaf, carrot and celery. I brought this to a boil and simmered this uncovered for about 2 hours. By doing this, the collagen in the joints have melted into the stock. Then I strained this and put it with the other stock. 

The stock goes into the refrigerator overnight. Once the stock is cold, the fat will rise to the top and solidify. Skim off the fat, and if you did it right, it will be a little jiggly.


Yummy, homemade chicken stock for soups, or really anything else you need stock for. The nice thing about stock is that you just throw in what you have in the fridge in the pot. It really doesn't matter what you put in it but the more veggies you put in it, the better it will taste!

Sunday, January 20, 2013

Americanized Pho

I love love love Vietnamese food. I guess it stems from having a few friends who are Vietnamese in college and being introduced to the delicious flavors in the best places around, usually their mom's kitchen. I've gotten to the point where I just crave it, since I usually eat it about once a month. Now here is where my problem starts...I live in a very rural part of PA. No Vietnamese restaurants around (although there is, from what I hear, a great Thai place close but I have yet to try it).

So my friend Jei and I decided to have an International Dinner party so we can have a reason to cook our favorite ethnic dishes. I happened to pick this recipe up from Rachel Ray, and I have to say that just about everything she comes up with is awesome, so I knew this would be as well. Since my dutch oven is in storage, I decided to adapt this recipe for the crock pot.


Crock Pot BBQ Pork Pho


  • 1 tablespoon vegetable oil, plus additional for drizzling
  • 1 1/2 pounds pork shoulder (boneless loin chops may also be used)
  • 2 quarts chicken broth, divided
  • 1 1/2-inch piece ginger root, peeled and thinly sliced
  • 4 large cloves garlic, sliced
  • Salt
  • 1/2 pound vermacelli pasta
  • 1 small red onion, quartered lengthwise and thinly sliced
  • 1 lime
  • 2 cups bean sprouts
  • 1/2 cup mint leaves, torn
  • 1/2 cup basil leaves, torn
  • 1/2 cup cilantro leaves, coarsely chopped
  • Sriracha hot sauce, for stirring in
  • Plum or hoisin sauce, for stirring in


1. For the braised pork: In a skillet over medium-high heat, heat 1 tablespoon of oil, about 1 turn of the pan. Sear the pork shoulder on all sides until brown, about 4-5 minutes on each side. Place in crock pot.
2. Pour a quart of chicken broth into the skillet and scrape up all the brown bits with a wooden spoon. Pour over the pork shoulder in the crock pot, set on low and cook for 8 hours or until it's tender and falls apart when poked with a fork. Take the pork out of the pot and set it aside until cool enough to handle. Once cool, shred pork with two forks and strain the liquid into a soup pot.
3. Add to the soup, the remaining quart of stock and 2 cups of water. Then add ginger and garlic and reduce heat to simmer.
4. Cook pasta according to package directions and drain.
5. Place red onions in small bowl. Using a vegetable peeler, peel zest off lime in a long curl or 2, then very thinly slice into small, thin strips. Cut the lime into wedges.
6. Turn a small bundle of noodles on a fork and place a bundle each in 4 deep soup bowls. Top with smoky pork strips and douse with a squirt of lime. Remove ginger and garlic from broth with a spider or slotted spoon. Ladle lots of hot, fragrant broth over pork and noodles. Add in onions, lime zest, sprouts, herbs and sauces as you like.


It was a total hit! You can use regular angel hair pasta for this recipe like Rachael does, but I can usually find the more authentic vermacelli noodles at the Asian market (I actually found these when I had my outing to Wegmans).  This is a great recipe for a party because you can set out all the toppings and people can doctor up the soup as they like it. Also this makes a ton for not that much money. I used pork country style ribs as I couldn't get that small amount of pork shoulder. The best part is that broth! Cooking the pork in the broth just makes it sooo yummy!! Enjoy!

Saturday, January 19, 2013

Limoncello Week 2


Here's the Limoncello at week 2. Looking more yellow, still 7 weeks to go.  

Red Quinoa Salad

The highlight of this week was a lovely dinner in Williamsport, PA at Ozzie and Mae's Hacienda for a belated birthday dinner with my friend Lori. We both had enchiladas and margaritas.
Also their chips and salsa were very tasty, I highly recommend it. After dinner, I had my first experience with Wegmans. I'm glad this store is not very accessible for me because I could do a LOT of damage. One of the things I found there was red quinoa. I haven't made a lot of quinoa but it does lend its self to salad.


How to cook quinoa (adapted from The Kitchn)
1c quinoa
2c liquid (chicken broth, water, etc)
olive oil
salt (optional)

First rinse quinoa in fine mess strainer until rinse water turns clear. Toast quinoa in a sauce pan with olive oil. Once the water has evaporated and the quinoa is toasted, add liquid. Bring to a boil, cover and turn down heat so it simmers. Let cook for 15 minutes. Turn off heat and keep covered for an additional 5 minutes. Fluff with fork and serve. 1 cup dry should yield about 3 cups cooked.

I used chicken bullion so I didn't add any salt. Now that I have this quinoa, I decided to make a cold salad. Other finds from Wegmans were marinated olives (at the olive bar!! seriously, I cannot go to this place that often...) and fresh mozzarella balls in individual single servings.


Quinoa Salad
3 cups cooked quinoa
1 pint cherry tomatoes
1 english cucumber
salt, pepper, italian seasoning
Italian salad dressing
1 cup marinated olives

While quinoa is cooling, halve tomatoes and chop cucumber. Put in bowl with salt, pepper, italian seasoning and 2T salad dressing, let marinate for 10 minutes. Combine with cooled quinoa. Add olives and an additional 2T dressing. Let sit in refrigerator overnight, adjust seasoning to taste.

For lunch today, I put the quinoa salad on top of mixed greens and topped with the mozzarella and some additional salad dressing. YUM! I also have some ripe avocados that would be good too on top. Nom nom nom.