Sunday, November 24, 2013

Parmesan Honey Pork Roast

It has been a gross weather weekend. Last night I looked outside to see that the wind was blowing so hard, snow was flying sideways. I'm pretty sure the wind blew all night and has proceeded to blow all day today too. The wind blew so hard, it even blew in one of my window panes! Good thing there was a chair there or the glass would have broken! Makes me not want to go outside.

So I got out a pork roast from the freezer and looked through my recipes to find one I can make with what I had on hand. So I found a recipe I found on Pinterest called Slow Cooker Parmesan Honey Pork Roast.


1 (2-3 lb) pork roast
2/3 c grated parmesan cheese
1/2 c honey
3 T soy sauce
2 T Italian seasoning
2 T minced garlic
2 T olive oil
1/2 t salt
2 T corn starch
1/4 c water

Spray inside of crock pot with cooking spray. Put roast in crock pot. Combine parmesan, honey, soy, Italian seasoning, garlic, oil and salt in a bowl and pour over roast. Cook on low for 6-7 hours or until roast is 160 degrees. Take roast out of slow cooker, strain juices. Pour liquids into a sauce pan and bring to a boil. Mix corn starch and water in a jar and shake to make a slurry. Add slurry to boiling pan drippings and cook until thickened, about 2 min.


Very tasty - the soy added a nice dark color to the sauce. I even put the pork the in the slow cooker mostly frozen and it cooked up well. This is not the long cooking roast that you shred up with forks so it might not be the best recipe to do when you have to do to work for 8 hours. Looking forward to making some tasty sandwiches with that pork and gravy!! Nom nom nom.

Saturday, November 23, 2013

Finally settling in

It's taken a while, as it always does when you move, to finally feel like you are settling in.


This is a shelf I put in the kitchen to hold my kitchen nick nacks. In my old place, most of this stuff went above the cabinets.


But as you can see I don't have space above my cabinets. So I hung pictures on the wall anyway.


More pictures on the walls. And yes, that is a sewing machine table in my TV room...I'm hoping this will stimulate me to finish that last quilt!


This is my front room, notice the cats! A big thank you to my friend Patty and her husband, Tim for helping put all of the pictures up. Tim was a trooper!!!


Monday, November 11, 2013

Vegan Cheese?

You know how you hear about something and you can't stop thinking about it? It was that way when I was listening to the Alton Browncast. He was interviewing Bob Taylor, a guy that makes guitars (really look at this marble cake ebony) and has recently become a vegan. That lead to talking about finding a substitute for cheese and he started talking about how he made "cheese" with cashews. Now I LOVE my cheese and have recently been thinking that due to this love, I have been eating way too much of it lately. So if this was any good, it might be a good substitute.

After some internet research, I found that to make the "cheese" you first need to start with making something called rejuvelac. This is a fermented liquid that comes from sprouted grains. You can use quinoa, rye or wheat. Apparently the quinoa version takes the least amount of time because the grain itsself is smaller. You first wash the grain until it starts to sprout then you let it sit and ferment for a day or so until it's cloudy. You drain off the liquid and can make a second batch.


Soaking the grain.

Look, it sprouted!

Finished product.

Once you have this fermented liquid, then you make the "cheese". I found this recipe for roasted garlic and sundried tomato vegan cheese. It sounded great and even if there were off flavors, that would be covered up by the deliciousness.


First cover raw cashews with water and soak for 12ish hours.


Drain and rinse nuts, see how they have softened and plumped?


Put in a blender or food processor and add your fermented liquid. The recipe called for a measily 1/2 cup, but I found that I needed a full cup for the nuts to blend smoothly.


Then put puree in a cheesecloth lined sieve and let sit overnight.


In the morning, squeeze roasted garlic into a bowl (get recipe here).


Add chopped sundried tomatoes.


Here's what the "cheese" looks like after it has drained overnight.


Now, all mixed together with added yumminess. Then put in fridge for 12-24 hours.


 After being in the fridge, the "cheese" has firmed up.


But it's still pretty spreadable. Overall pretty tasty - doesn't taste like cashews but doesn't taste like cheese either. It would be nice for the holidays as part of an appetizer plate, but I don't know if I would continue to call it cheese. Looks like there a lot of recipes out there to make different "cheeses", including more aged cheese that is firmer. I might keep experimenting, more to come...

Monday, November 4, 2013

Using Homemade Jam and Jelly

Well now that we went to all that trouble to make jams and jellies last week, Patty and I just couldn't wait to use them! Sorry family and friends, you may not be getting any of this batch... Since we made two batches of strawberry jam, I had a need to make PB&J Thumbprint cookies. After searching all over the internet for the perfect recipe, I settled on this one because you put the jam in before you bake the cookies and homemade jam tends to be on the runny side. After reading the comments, I decided against rolling the cookies in sugar before adding the jam as most of the comments said they would not do that if they were to make the recipe again.


Other comments from the readers was that the cookies don't spread much when cooking, which is a bonus. I'm not sure what makes a cookie spread or not - the overall structure of the dough has to do with it I'm sure but the temperature of the dough counts too. But PB is darn sticky so I guess that might be why it didn't spread either. BTW, that's the strawberry vanilla jam in those cookies.


Yum, yum, yum!! Tastes just like a PB&J sammie and made Patty a believer (she says she's not a PB fan, I see 3 jars of PB in your pantry that beg to differ...)

Next was something savory to go with the Rose wine and Pink Peppercorn Jelly - pork seemed like a good option for that and Porchetta was the first thing that came to mind. I have to take a side bar here and tell you all that I LOVE porchetta - which is an italian pork roast with garlic and herbs. Every time I think about porchetta, I think about my semester in Italy and the market that was daily in our piazza and the porchetta man. Yup, porchetta man. This guy had a food truck-like van and sold pork products - sausages and porchetta. We could just run down the stairs of our building and across the street to the porchetta man for a sandwich and life was good.... Well needless to say, with all that nostalgia, I have yet to make porchetta. Since we have some dietary issues with garlic in Patty's household, I tried to look for a recipe that was lower on the garlic factor but still high in the flavor department. I stumbled upon this recipe from Esquire magazine in the "Man Food" section...it's pork, stuffed with pork!!


First brown a sliced fennel bulb. Add pork sausage and fennel fronds (and some other stuff, Patty made this while I was making cookies...read the recipe if you wanna know the specifics). Let filling cool to room temp.


Patty flirted with the butcher at the store to have him so expertly butterfly out the pork shoulder roast. Fill with stuffing and roll like a jelly roll.


Secure with butchers twine (also procured by flirtation).


Now for the record, Patty wants me to tell y'all that she did the running suture on the pork roll on the left and I did the measly 3 knots on the right... In my defense - she's a nurse, I'm a pharmacist...I never learned how to suture and she works at urgent care on the side...it was no contest!!


 Place your rolls of goodness on top of sliced onions and bake at 350 degrees for 2.5 hours.


When you slice them, they look like this! Fabulous with the pink peppercorn jelly and the apple-pear sauce we made. Yum, yum, yum. This is what Sunday cooking is like for us all the time...well not really - but maybe it should be.

The cooking continued and I made Squash bread based on a recipe from America's Test Kitchen. Love America's Test Kitchen. If you have never heard of them, look on PBS for their show. They test recipes over and over tweaking as they go to make the best recipe for anything. They also use ingredients you can find in the regular grocery store. They also have a great magazine and I recently stumbled upon their podcast - all great things.


What I liked about this recipe is that you cook the pumpkin on the stove first. They did it to get the "can" taste out of the canned pumpkin, I thought it would work well with the hook squash I cooked last week because it was a little on the watery side, so this helped concentrate those flavors. You add the spices as well. Once the squash has cooked down, you add cream cheese.


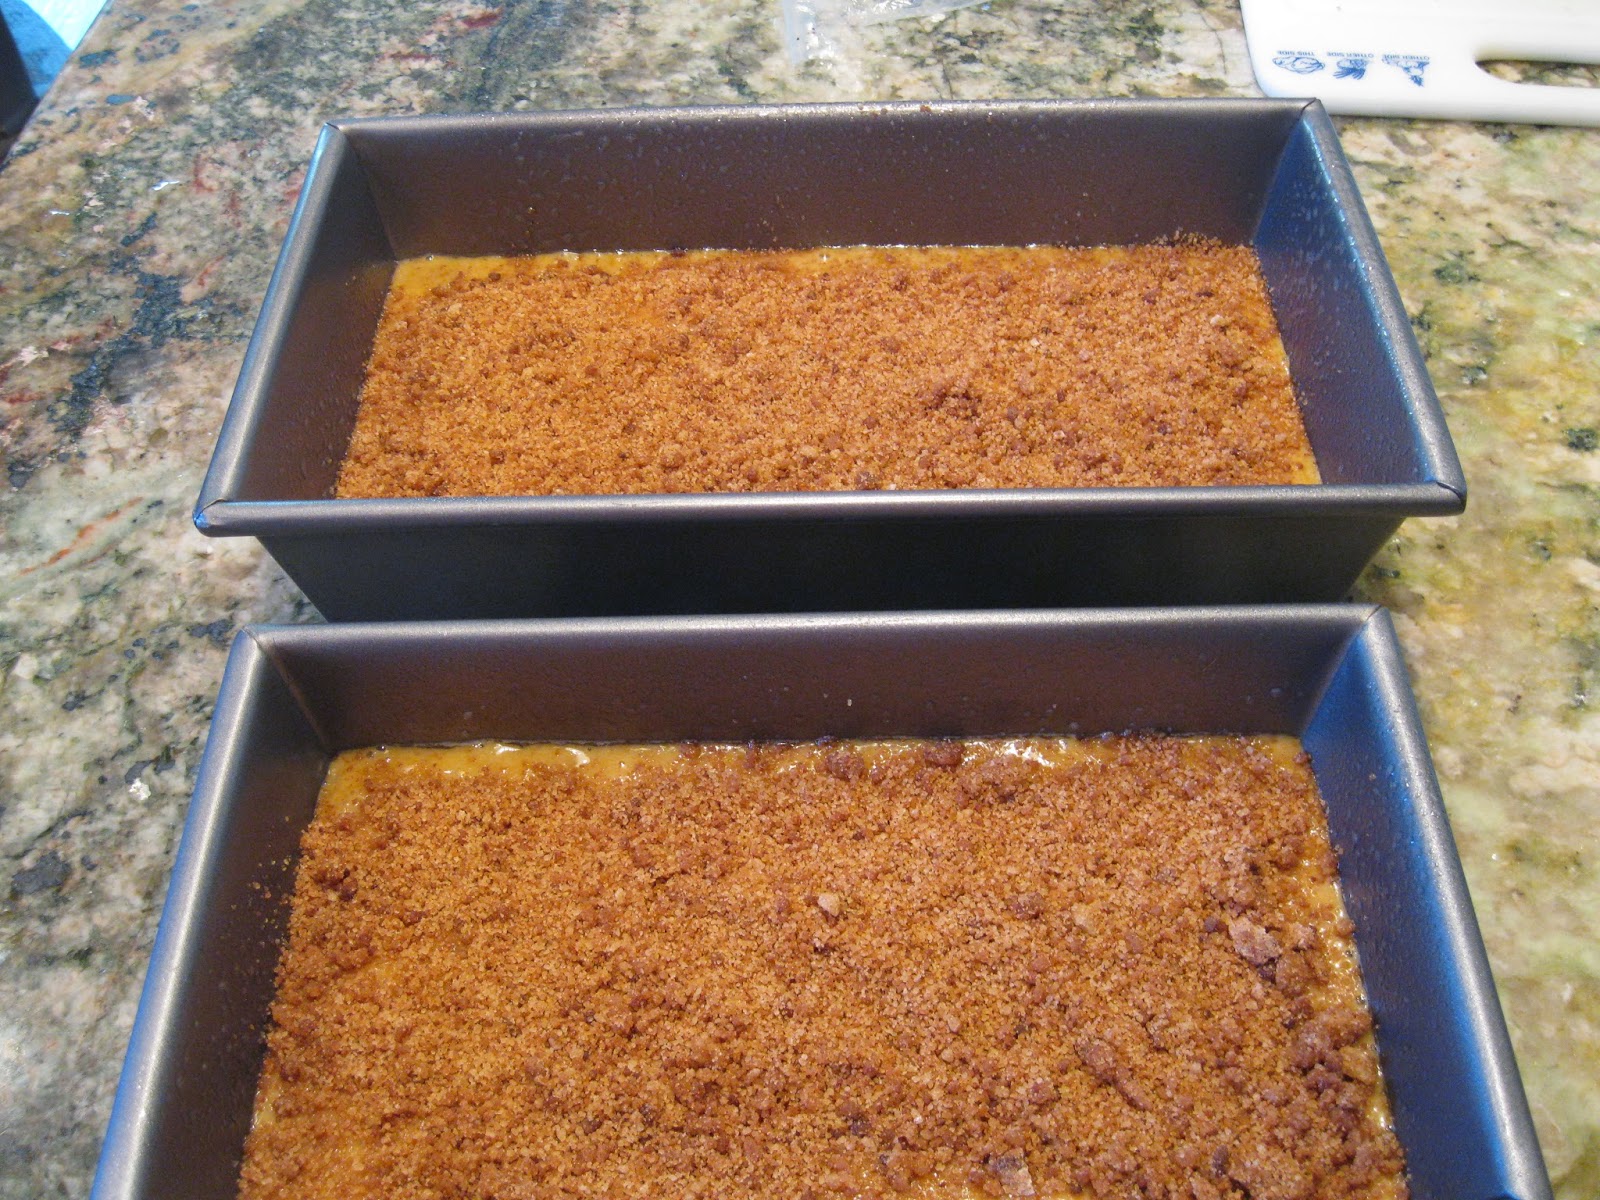
Add the other ingredients once the mixture has cooled down a bit and add the topping...


Yay, squash bread! And a delicious breakfast it makes too!

Phew! What a day of cooking. What I didn't take pictures of was a lasagna we made with the tomato sauce I made last week....we are stocked with delicious goodies for the rest of the week! Although I hear there is a refrigerator monster at Patty's house.


After all that work, a glass of wine was well deserved, especially in these cute glasses Patty got from a glass blower while she was on vacation in North Carolina. Love the colors.

Brussels Sprouts...on a stick!

Did you know that brussels sprouts came on a stalk like this?


I thought this would be like cutting the corn off the cob so I put the stalk in a bowl and cut each head off the stalk. Worked great! This of course was after I was running around the kitchen after the first little buggers that rolled off the counter...


I've seen a lot of ways to use these - decided to go for a salad a sauteed sprouts. The recipe for salad was inspired by this recipe. I like the idea of using apple and cheese in the salad.


Love, love, love having all my old kitchen equipment back! The food processor made quick work of the sprouts on a shredding disk.


And since I already had the food processor out, I used the grating disk for the apples. I have a KitchenAid food processor and find that the grating disk is very large, so it works well in this application, but I don't know if it would be good for cheese...


I added a lemon dressing I made last week for a kale salad - it had lemon juice, lemon white balsamic, garlic oil, the picked mustard seeds (as you can tell the turmeric made the dressing very yellow), salt, pepper and italian seasoning. I buzzed that in my Magic Bullet (yes, I still have it - mainly for this application) until smooth. Then add pecorino cheese. Yum! It made a ton - I had this salad every day last week with my lunch. Good thing cabbage doesn't wilt with dressing on it like lettuce does!

The next dish I made with this stalk of sprouts was a sauteed version. First cut the sprouts in half. Add some oil to your pan and saute some shallots (got those at the farmers market in Scranton, so good).


Add the sprouts and saute. Once they turn bright green, add some liquid (I used a chicken stalk cube) and cover to steam for 10ish min over med-low heat or until your liquid has evaporated. Once tender, add some balsamic vinegar (I used a cherry balsamic from Reading Terminal Market in Philly - sorry I'm an oil and vinegar snob).


Guess my German comes out here, I just love vinegar on cabbage!! I prefer my sprouts still on the crunchy side so this dish is quick to make.