Well now that we went to all that trouble to make jams and jellies last week, Patty and I just couldn't wait to use them! Sorry family and friends, you may not be getting any of this batch... Since we made two batches of strawberry jam, I had a need to make PB&J Thumbprint cookies. After searching all over the internet for the perfect recipe, I settled on this one because you put the jam in before you bake the cookies and homemade jam tends to be on the runny side. After reading the comments, I decided against rolling the cookies in sugar before adding the jam as most of the comments said they would not do that if they were to make the recipe again.
Other comments from the readers was that the cookies don't spread much when cooking, which is a bonus. I'm not sure what makes a cookie spread or not - the overall structure of the dough has to do with it I'm sure but the temperature of the dough counts too. But PB is darn sticky so I guess that might be why it didn't spread either. BTW, that's the strawberry vanilla jam in those cookies.
Yum, yum, yum!! Tastes just like a PB&J sammie and made Patty a believer (she says she's not a PB fan, I see 3 jars of PB in your pantry that beg to differ...)
Next was something savory to go with the Rose wine and Pink Peppercorn Jelly - pork seemed like a good option for that and Porchetta was the first thing that came to mind. I have to take a side bar here and tell you all that I LOVE porchetta - which is an italian pork roast with garlic and herbs. Every time I think about porchetta, I think about my semester in Italy and the market that was daily in our piazza and the porchetta man. Yup, porchetta man. This guy had a food truck-like van and sold pork products - sausages and porchetta. We could just run down the stairs of our building and across the street to the porchetta man for a sandwich and life was good.... Well needless to say, with all that nostalgia, I have yet to make porchetta. Since we have some dietary issues with garlic in Patty's household, I tried to look for a recipe that was lower on the garlic factor but still high in the flavor department. I stumbled upon this recipe from Esquire magazine in the "Man Food" section...it's pork, stuffed with pork!!
First brown a sliced fennel bulb. Add pork sausage and fennel fronds (and some other stuff, Patty made this while I was making cookies...read the recipe if you wanna know the specifics). Let filling cool to room temp.
Patty flirted with the butcher at the store to have him so expertly butterfly out the pork shoulder roast. Fill with stuffing and roll like a jelly roll.
Secure with butchers twine (also procured by flirtation).
Now for the record, Patty wants me to tell y'all that she did the running suture on the pork roll on the left and I did the measly 3 knots on the right... In my defense - she's a nurse, I'm a pharmacist...I never learned how to suture and she works at urgent care on the side...it was no contest!!
Place your rolls of goodness on top of sliced onions and bake at 350 degrees for 2.5 hours.
When you slice them, they look like this! Fabulous with the pink peppercorn jelly and the apple-pear sauce we made. Yum, yum, yum. This is what Sunday cooking is like for us all the time...well not really - but maybe it should be.
The cooking continued and I made Squash bread based on a recipe from America's Test Kitchen. Love America's Test Kitchen. If you have never heard of them, look on PBS for their show. They test recipes over and over tweaking as they go to make the best recipe for anything. They also use ingredients you can find in the regular grocery store. They also have a great magazine and I recently stumbled upon their podcast - all great things.
What I liked about this recipe is that you cook the pumpkin on the stove first. They did it to get the "can" taste out of the canned pumpkin, I thought it would work well with the hook squash I cooked last week because it was a little on the watery side, so this helped concentrate those flavors. You add the spices as well. Once the squash has cooked down, you add cream cheese.
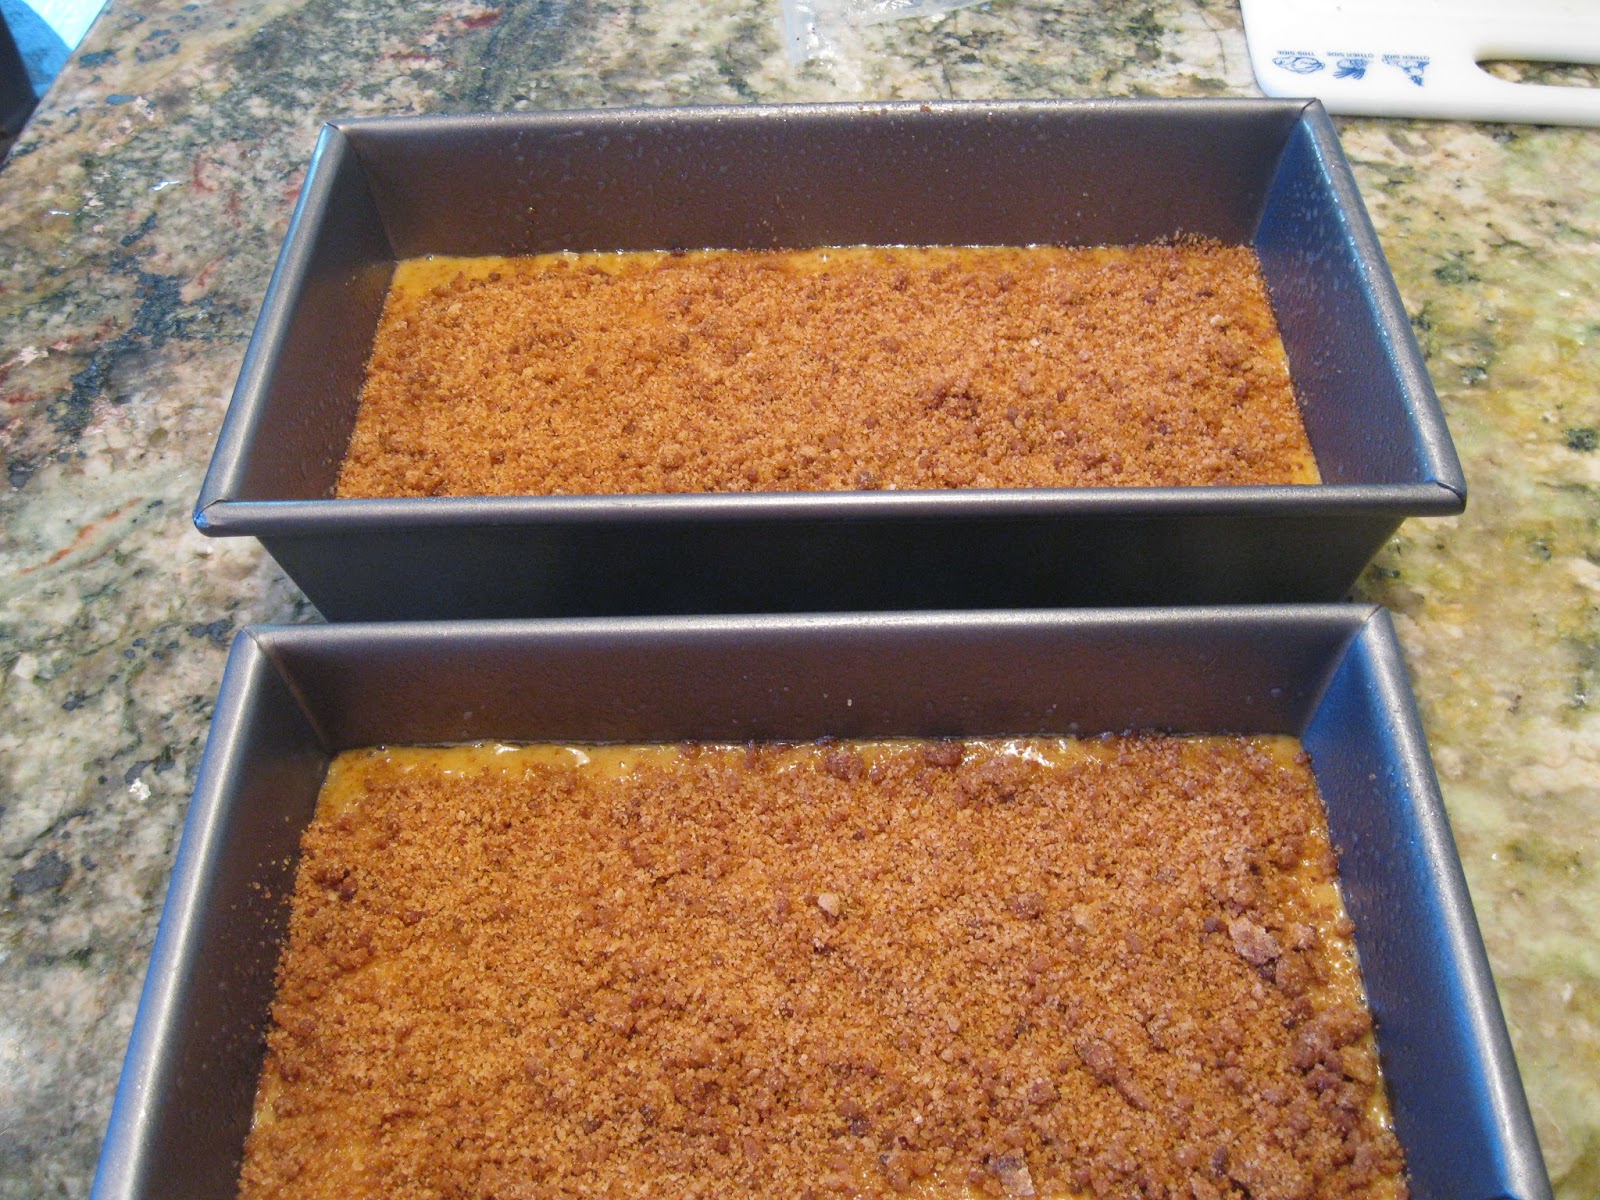
Add the other ingredients once the mixture has cooled down a bit and add the topping...
Yay, squash bread! And a delicious breakfast it makes too!
Phew! What a day of cooking. What I didn't take pictures of was a lasagna we made with the tomato sauce I made last week....we are stocked with delicious goodies for the rest of the week! Although I hear there is a refrigerator monster at Patty's house.
After all that work, a glass of wine was well deserved, especially in these cute glasses Patty got from a glass blower while she was on vacation in North Carolina. Love the colors.
This started as a way to follow the progress of a batch of Limoncello, now it's morphed into a food blog...
Monday, November 4, 2013
Brussels Sprouts...on a stick!
Did you know that brussels sprouts came on a stalk like this?
I thought this would be like cutting the corn off the cob so I put the stalk in a bowl and cut each head off the stalk. Worked great! This of course was after I was running around the kitchen after the first little buggers that rolled off the counter...
I've seen a lot of ways to use these - decided to go for a salad a sauteed sprouts. The recipe for salad was inspired by this recipe. I like the idea of using apple and cheese in the salad.
Love, love, love having all my old kitchen equipment back! The food processor made quick work of the sprouts on a shredding disk.
And since I already had the food processor out, I used the grating disk for the apples. I have a KitchenAid food processor and find that the grating disk is very large, so it works well in this application, but I don't know if it would be good for cheese...
I added a lemon dressing I made last week for a kale salad - it had lemon juice, lemon white balsamic, garlic oil, the picked mustard seeds (as you can tell the turmeric made the dressing very yellow), salt, pepper and italian seasoning. I buzzed that in my Magic Bullet (yes, I still have it - mainly for this application) until smooth. Then add pecorino cheese. Yum! It made a ton - I had this salad every day last week with my lunch. Good thing cabbage doesn't wilt with dressing on it like lettuce does!
The next dish I made with this stalk of sprouts was a sauteed version. First cut the sprouts in half. Add some oil to your pan and saute some shallots (got those at the farmers market in Scranton, so good).
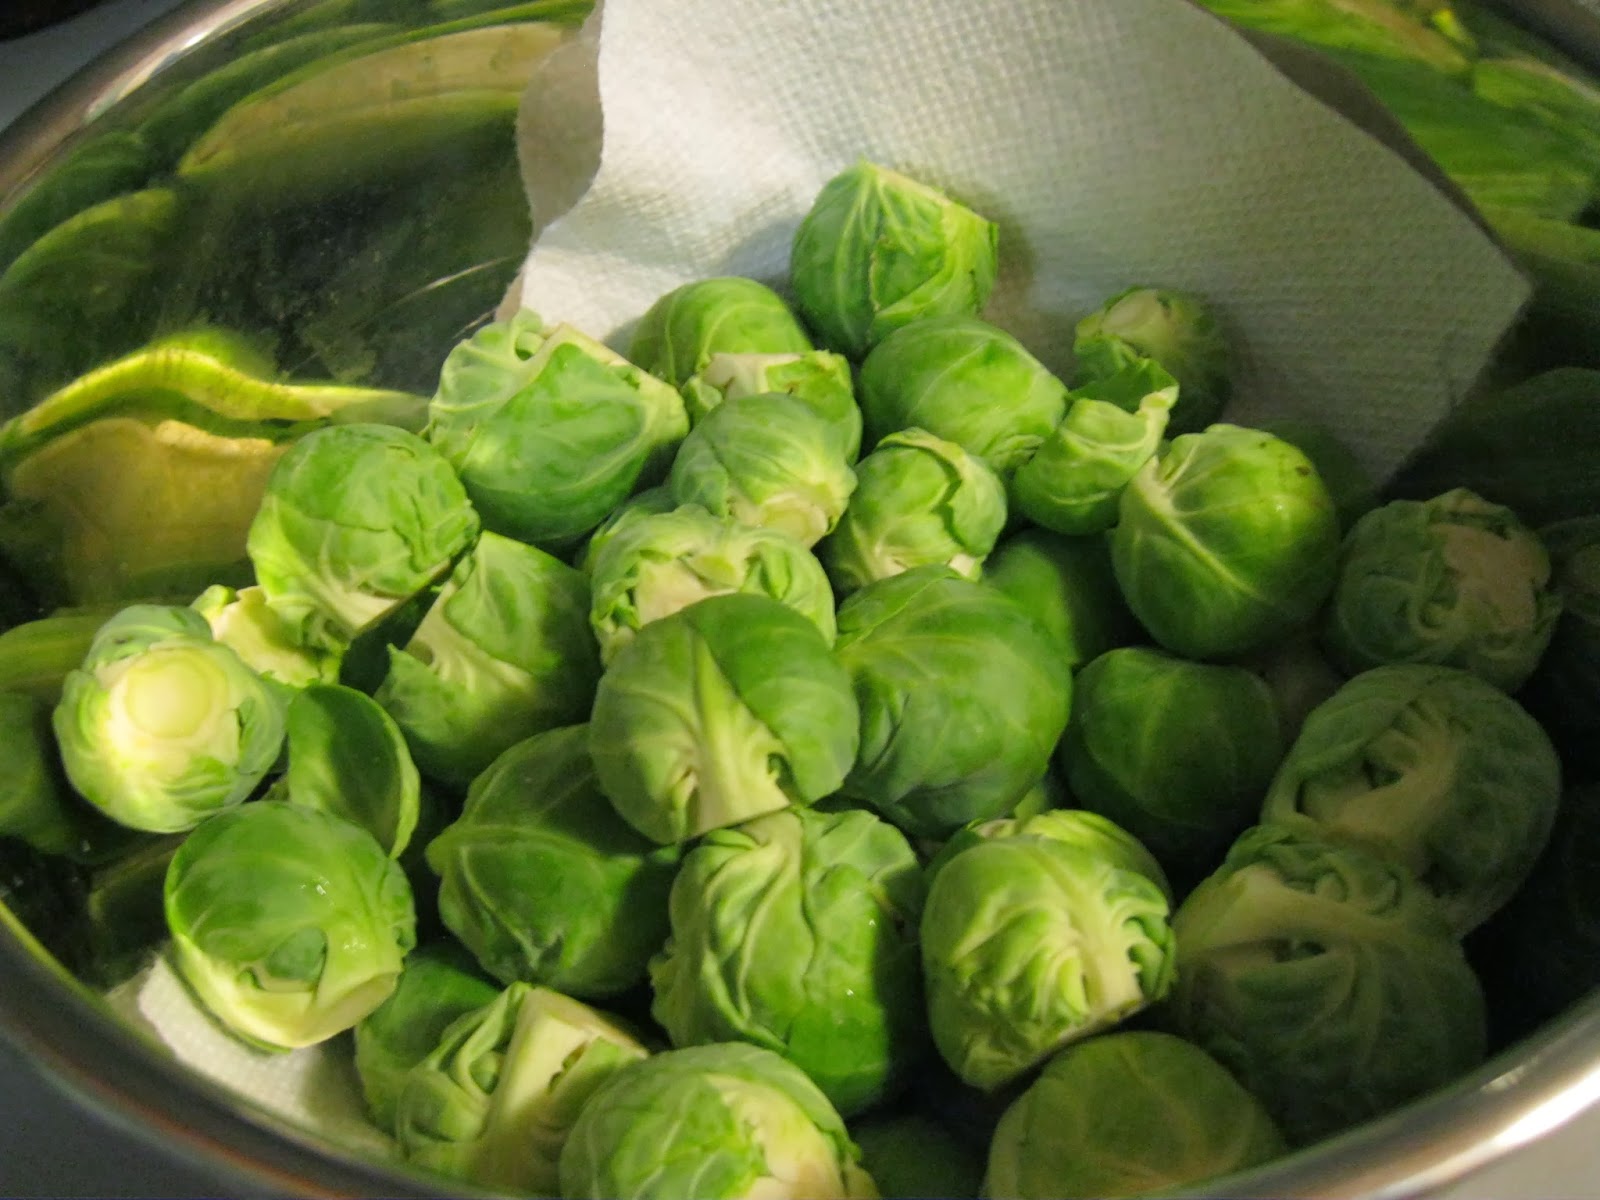
Add the sprouts and saute. Once they turn bright green, add some liquid (I used a chicken stalk cube) and cover to steam for 10ish min over med-low heat or until your liquid has evaporated. Once tender, add some balsamic vinegar (I used a cherry balsamic from Reading Terminal Market in Philly - sorry I'm an oil and vinegar snob).
Guess my German comes out here, I just love vinegar on cabbage!! I prefer my sprouts still on the crunchy side so this dish is quick to make.
I thought this would be like cutting the corn off the cob so I put the stalk in a bowl and cut each head off the stalk. Worked great! This of course was after I was running around the kitchen after the first little buggers that rolled off the counter...
I've seen a lot of ways to use these - decided to go for a salad a sauteed sprouts. The recipe for salad was inspired by this recipe. I like the idea of using apple and cheese in the salad.
Love, love, love having all my old kitchen equipment back! The food processor made quick work of the sprouts on a shredding disk.
And since I already had the food processor out, I used the grating disk for the apples. I have a KitchenAid food processor and find that the grating disk is very large, so it works well in this application, but I don't know if it would be good for cheese...
I added a lemon dressing I made last week for a kale salad - it had lemon juice, lemon white balsamic, garlic oil, the picked mustard seeds (as you can tell the turmeric made the dressing very yellow), salt, pepper and italian seasoning. I buzzed that in my Magic Bullet (yes, I still have it - mainly for this application) until smooth. Then add pecorino cheese. Yum! It made a ton - I had this salad every day last week with my lunch. Good thing cabbage doesn't wilt with dressing on it like lettuce does!
The next dish I made with this stalk of sprouts was a sauteed version. First cut the sprouts in half. Add some oil to your pan and saute some shallots (got those at the farmers market in Scranton, so good).
Add the sprouts and saute. Once they turn bright green, add some liquid (I used a chicken stalk cube) and cover to steam for 10ish min over med-low heat or until your liquid has evaporated. Once tender, add some balsamic vinegar (I used a cherry balsamic from Reading Terminal Market in Philly - sorry I'm an oil and vinegar snob).
Guess my German comes out here, I just love vinegar on cabbage!! I prefer my sprouts still on the crunchy side so this dish is quick to make.
Sunday, October 27, 2013
Primary Cooking
What a weekend of cooking! Yesterday I went to a friend's house that lives in the country for a canning lesson. I've made things that go in jars but the whole processing thing I don't do as often. (Processing is the thing that kills all the bacteria so what you make is shelf stable) We had a great time and made apple-pear sauce, strawberry jam, strawberry-vanilla jam, sangria jelly and rose wine and pink peppercorn jelly. Phew!
Maybe the best part of the day (other than spending quality time with my friends) is the bounty from the garden I took home. I'm pretty sure I came home with more than I left.
This is only part of what I took home - I also got a hook squash and 2 butternut squash. My friend was not sure what kind of peppers these were. She said they had a packet of mixed pepper seeds and planted them. These looked like Anaheims to me, so my first order of business was to roast them.
Foil lined sheet pans. Oven at 400 degrees. Roast 20 min, turn, roast 20 more min.
These are not as black as if you roasted them over an open flame, but that's fine with me. Into a bowl and covered with plastic wrap for 15 min.
After steaming, peel off skins and take out the seeds. At this point, there are a lot of things you can do with these chiles. I thought I might make a green chile enchilada casserole, but decided to make chili instead. So I put them in the blender to puree.
I added some chicken stock so that it would blend easily. Also I added in a few tomatoes.
This was a total concoction. It has ground turkey, chili powder, cumin and onion. Then I added the chile/tomato puree and let that cook down. Then I added in some pureed squash that I also roasted. Tasted good, didn't look so pretty.
Here's the hook squash (that's what I'm calling it at least). My friend said this squash makes the best pies and breads, so that's what I'm planning to use it for. I portioned it all out in 1 cup measures and a 2 cup measure (closer to "1 can") for the freezer.
The tomatoes got blended and cooked down for sauce. It simmered down for half the day - lots of water in those tomatoes! Then I used the sauce for pasta. I browned some onion and a meatloaf mix (pork, beef, veal) then added the tomato sauce. Added some mozzarella and parmesan cheese, and it's dinner!
The best part is that I filled the freezer for practically no money. I didn't go to the store and just used what I had on hand or in the freezer. This is totally a windfall!! My mom calls this type of cooking primary cooking - taking raw ingredients and making sauces to put into other dishes. Sure, going to the store and getting it in a can is faster/easier, but everything I made is MUCH tastier!
| The fruits of our labor |
This is only part of what I took home - I also got a hook squash and 2 butternut squash. My friend was not sure what kind of peppers these were. She said they had a packet of mixed pepper seeds and planted them. These looked like Anaheims to me, so my first order of business was to roast them.
Foil lined sheet pans. Oven at 400 degrees. Roast 20 min, turn, roast 20 more min.
After steaming, peel off skins and take out the seeds. At this point, there are a lot of things you can do with these chiles. I thought I might make a green chile enchilada casserole, but decided to make chili instead. So I put them in the blender to puree.
I added some chicken stock so that it would blend easily. Also I added in a few tomatoes.
This was a total concoction. It has ground turkey, chili powder, cumin and onion. Then I added the chile/tomato puree and let that cook down. Then I added in some pureed squash that I also roasted. Tasted good, didn't look so pretty.
Here's the hook squash (that's what I'm calling it at least). My friend said this squash makes the best pies and breads, so that's what I'm planning to use it for. I portioned it all out in 1 cup measures and a 2 cup measure (closer to "1 can") for the freezer.
The tomatoes got blended and cooked down for sauce. It simmered down for half the day - lots of water in those tomatoes! Then I used the sauce for pasta. I browned some onion and a meatloaf mix (pork, beef, veal) then added the tomato sauce. Added some mozzarella and parmesan cheese, and it's dinner!
The best part is that I filled the freezer for practically no money. I didn't go to the store and just used what I had on hand or in the freezer. This is totally a windfall!! My mom calls this type of cooking primary cooking - taking raw ingredients and making sauces to put into other dishes. Sure, going to the store and getting it in a can is faster/easier, but everything I made is MUCH tastier!
Sunday, October 20, 2013
Pharmacy Week Eats
Happy Hospital Pharmacy Week! In celebration, we always have a week full of interesting contests and food. Pharmacy Technician Appreciation Day is on Tuesday and usually the pharmacists bring in food for the techs. We are doing a dessert day and I saw this recipe for Lemon-Cranberry Pie Bars in the most recent issue of Food and Wine. I happened to see cranberries in my grocery store and knew these would be a good addition to the festivities.
Yum, yum! These were just set and tasted kinda like a lemon bar with some cranberry. These need to get out of my house, fast!!
The other thing I made was a Caramelized Onion Dip for Tailgate Day - a potluck. Of course, I had some changes - I tend to stick to the recipe when it comes to baked goods but when you just cook, I tend to make some changes. I ended up cooking the onions twice as long as in the recipe - an hour total, since they weren't brown enough after just a half hour.
Let onions cool then roughly chop. In a stand mixer beat cream cheese, sour cream and mayo - I used reduced fat versions of all and a greek yogurt cream cheese. Add salt and pepper to taste - I also added Italian seasoning. Refrigerate until firm. Serve with chips. It has a nice sweet flavor from the onions. Tasty!
Start first with making the cranberry swirl. Cook cranberries, cloves and water until berries pop.
Pour into a blender and puree.
Pour through a strainer and cool to room temp.
While waiting for the cranberry puree to cool, make the crust.
When the crust is cool, make the lemon filling. Add 1 cup of filling to the cranberry puree.
Pour lemon filling into crust and swirl in cranberry puree.
Bake until custard is set, about 40 min (the recipe said 35 min, I found that I needed more time).
Yum, yum! These were just set and tasted kinda like a lemon bar with some cranberry. These need to get out of my house, fast!!
The other thing I made was a Caramelized Onion Dip for Tailgate Day - a potluck. Of course, I had some changes - I tend to stick to the recipe when it comes to baked goods but when you just cook, I tend to make some changes. I ended up cooking the onions twice as long as in the recipe - an hour total, since they weren't brown enough after just a half hour.
Before
An hour later
Let onions cool then roughly chop. In a stand mixer beat cream cheese, sour cream and mayo - I used reduced fat versions of all and a greek yogurt cream cheese. Add salt and pepper to taste - I also added Italian seasoning. Refrigerate until firm. Serve with chips. It has a nice sweet flavor from the onions. Tasty!
Saturday, October 12, 2013
Using Pickled Mustard Seeds and Pickled Kale Stems
So now that I have those pickled mustard seeds, what to do with them? I happened to have a bunch of kale in the fridge - so decided to use the mustard seeds as a finisher. I'm not from the south and so like to do a quick saute of kale rather than the long cooking of greens that is commonly done down there.
So the first thing that needs to be done is to remove the leaves from the stems. You can cut the leaves but I usually tear them up as I remove them from the stems. I also like to give the leaves a quick rinse and don't shake off too much water.
In a skillet, add some coconut oil and garlic over medium high heat. Once garlic is fragrant, add all of kale - it may not fit well in the skillet but it will cook down. Try to toss it so the garlic does not burn. Add salt and pepper. Put a lid on your skillet, turn the heat to low and let the damp kale steam for 15 to 20 min.
As you can see the kale has cooked down. Taste for doneness. As a finishing touch I usually add some red wine vinegar for a bite at the end. Since the pickled mustard seeds had a vinegar forward flavor, I thought this would be a good addition, which it was. I added two big spoonfuls. Word of caution - the white peppercorns in the pickle were somewhat hard to pick out in this setting and I got a mouthful of pepper...so I don't think I would add whole peppercorns to the pickle the next time around.
Now the next question is what to do with the kale stems? Usually I would just throw them out, but I recently listened to an interview of Damaris Phillips (the winner of the Next Food Network Star) on the Alton Browncast where she said she pickles kale stems...so the pickling continues! Seeing this as my opportunity to capitalize on this idea I searched the internet for a recipe and found one on Bon Appetit - plus they are called Sriracha Fridge Pickles!
I was a little hesitant about the amount of sriracha in the pickle but decided to follow the recipe to the letter. Also there was a LOT of sugar so I thought it would calm the heat. I decided to put my bowl with the vinegar and sugar in the microwave so facilitate the sugar dissolving and the pickle was very viscous. My jar was a bit too small for the amount of pickle so there was some that I ended up throwing out.
Into the fridge it goes!
After a few days in the fridge - I had to taste them. Not overly hot, pretty sweet. Actually pretty good for eating right out of the jar. Crunchy, sweet, spicy. It would be a good topping for hot dogs or in a salad or I might continue to just eat them out of the jar! Don't think I will ever throw away kale stems again!
So the first thing that needs to be done is to remove the leaves from the stems. You can cut the leaves but I usually tear them up as I remove them from the stems. I also like to give the leaves a quick rinse and don't shake off too much water.
In a skillet, add some coconut oil and garlic over medium high heat. Once garlic is fragrant, add all of kale - it may not fit well in the skillet but it will cook down. Try to toss it so the garlic does not burn. Add salt and pepper. Put a lid on your skillet, turn the heat to low and let the damp kale steam for 15 to 20 min.
As you can see the kale has cooked down. Taste for doneness. As a finishing touch I usually add some red wine vinegar for a bite at the end. Since the pickled mustard seeds had a vinegar forward flavor, I thought this would be a good addition, which it was. I added two big spoonfuls. Word of caution - the white peppercorns in the pickle were somewhat hard to pick out in this setting and I got a mouthful of pepper...so I don't think I would add whole peppercorns to the pickle the next time around.
Now the next question is what to do with the kale stems? Usually I would just throw them out, but I recently listened to an interview of Damaris Phillips (the winner of the Next Food Network Star) on the Alton Browncast where she said she pickles kale stems...so the pickling continues! Seeing this as my opportunity to capitalize on this idea I searched the internet for a recipe and found one on Bon Appetit - plus they are called Sriracha Fridge Pickles!
I was a little hesitant about the amount of sriracha in the pickle but decided to follow the recipe to the letter. Also there was a LOT of sugar so I thought it would calm the heat. I decided to put my bowl with the vinegar and sugar in the microwave so facilitate the sugar dissolving and the pickle was very viscous. My jar was a bit too small for the amount of pickle so there was some that I ended up throwing out.
Into the fridge it goes!
After a few days in the fridge - I had to taste them. Not overly hot, pretty sweet. Actually pretty good for eating right out of the jar. Crunchy, sweet, spicy. It would be a good topping for hot dogs or in a salad or I might continue to just eat them out of the jar! Don't think I will ever throw away kale stems again!
Subscribe to:
Posts (Atom)