Sunday, October 6, 2013

Pickled Mustard Seeds

To continue on with my pickling obsession, I came across this recipe for Pickled Mustard Seeds. It sounded easy and I happened to have most of the ingredients on hand. I decided to tackle this while I was waiting for the cable guy yesterday - NOT something I wish to discuss at this time - needless to say I have no cable and am significantly irritated at Comcast at this moment.

The recipe calls for 1/2 cup mustard seeds, since I was stuck at home, all I had was 1/4 cup but decided to go ahead with the recipe anyway. Also, I don't have any white wine vinegar or rice wine vinegar so used a mix of red wine and apple cider vinegar instead.


First you pickle the mustard seeds at room temp for 1 hour. Turns out a bowl of vinegar on the counter is a great trap for fruit flies - which I happen to have a multitude of since I started with the kombucha, which I have officially stopped making. I wasn't drinking it fast enough and it turned into a chore - tells me it's time to stop.


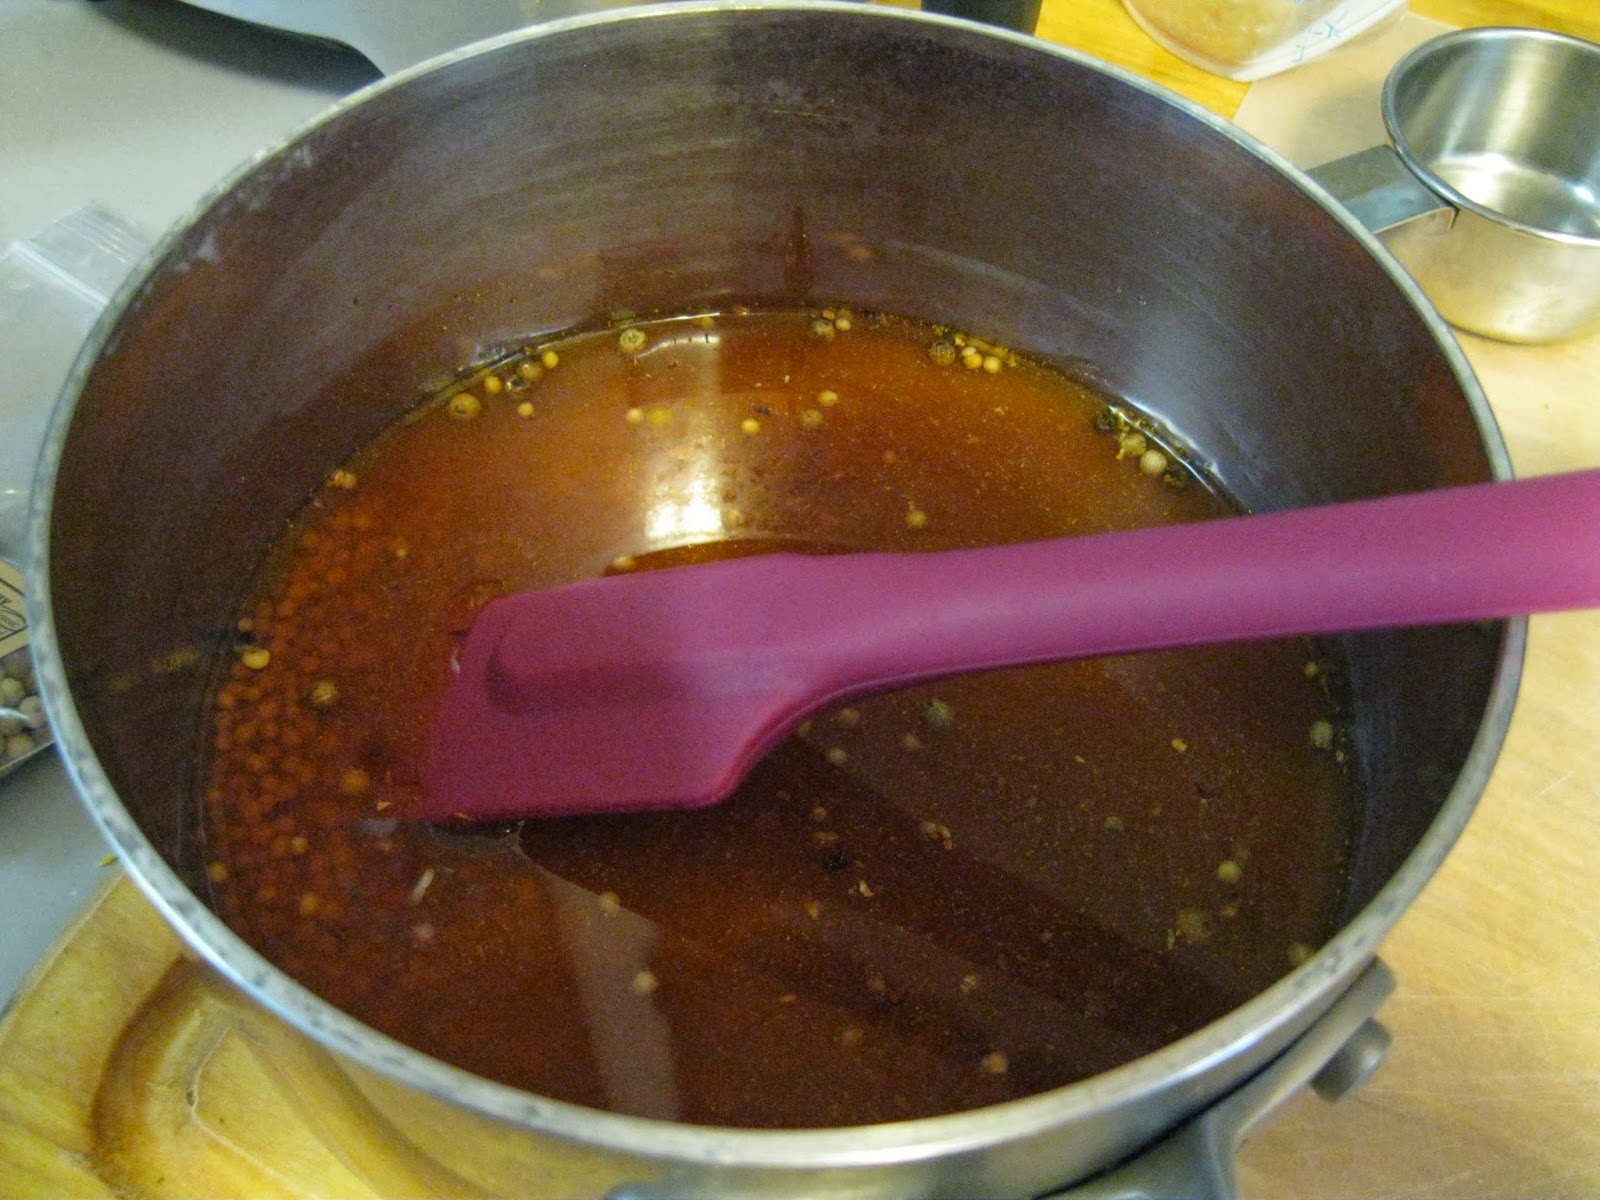
After soaking, add tumeric, white pepper and red pepper flakes (and fish out the flies). Also agave instead of honey - I added a bit more since I was using a more pungent vinegar. Put on stove and simmer for 20 min, then let cool to room temp.


At this point, the recipe states you should add an additional 1/4 cup vinegar. I didn't since I started out with less mustard seeds. Apparently they will continue to soak up the vinegar while in the fridge and you can add more vinegar at that time.


After spending the night in the fridge, I tasted the result - definite vinegar punch (would probably be less if I used the white wine vinegar) but not too much hot from the mustard seeds themselves. Interesting. I have a pasta that I made for the freezer that is "missing something" and this might be that. Also I've been making tuna salad for lunch lately and this might be a good addition as well. I guess use it anywhere you would use mustard - on a pork loin would be nice.

Tuesday, October 1, 2013

Lacto Fermentation

I seem to be interested in all the cooking fads these days. My newest interest is in fermentation, or rather I have found a new variety of fermentation (see my kombucha post for info on my first plunge into fermentation). I found a recipe on the Kitchn for lacto fermented mixed veggies. Sounded interesting. I make pickles a lot - usually an Asian style with rice vinegar and sesame oil, so I'm used to the idea of pickling. This intrigued me since there is no vinegar. You use a salt brine to discourage the bad bacteria and use the naturally occurring lactobacillus to ferment or pickle your veggies. Sauerkraut is made this way, as well as real dill pickles. You can easily make these pickles in a jar with no other special equipment but I decided to go the extra mile and buy a jar with a hole in the top that would fit an air lock, guess I'm all fancy. Or really, I just got excited about a new kitchen toy.

bell pepper

carrot

cauliflower and spices

add brine and air bubbler


The pickles sit on the counter for a few days, then you start to taste them for doneness - to your liking. A few thoughts - I'm not sure I would mix softer veggies like cauliflower and bell pepper with a hard veggie like carrots in the future. I decided they were "done" when the cauliflower was good, but after I put the veggies in the fridge, I found out that the carrots weren't really soft enough. Live an learn, I guess. Also, the recipe called for 1 garlic clove and when I was pulling it off the head, 2 cloves came instead, so I put both in the jar. I thought there was a bit too much garlic flavor due to this, who knew there was such a thing as too much garlic? So, overall I don't think this batch was too successful. Oh well. Now in the process of making those real dill pickles, will let you know how they turn out!


Bitters

In case you've lived under a rock for the past few years - there is a cocktail revolution going on. Bars all over the country are concocting all sorts of delicious drinks, including house made bitters. I've heard that bitters to a cocktail is like salt to food - it just enhances and makes your drink that much better. Also in my pharmacist mind it's nice to go back to the days of old - when a pharmacist made these sort of elixirs with herbs that were for all sorts of ailments.

I've made bitters before and they are not hard but they do take some time and special ingredients. This time around I made 2 batches out of the book "Bitters" by Brad Thomas Parsons. If you are interested in this cocktail revolution - this is a good read - lots of cocktail recipes as well as tips of what premade bitters are best and some history.

The recipes I made were a House Bitters (like Angostura) and an Orange Bitters. In the pictures, the house bitters have a whiskey base and so is darker. The orange bitters have a vodka base and gradually turned orange.

starting ingredients

everything together

2 weeks later, shaking jar daily

strain out the solids


add water and boil


cool, then add back to jars and let sit for 1 week

strain again and add to alcohol 

add rich syrup and you are done!
So I said it was an easy process but it does have some steps. If you are interested in the recipe or where to get the various ingredients, let me know and I'll send it to you. Since I got this from a book, I"ll let the copyright stand, for now. These are the most common types of bitters you will find in recipes. I think the next kind I will make is a celery bitters for bloody marys!

Sunday, September 15, 2013

Baked Gnocchi

Things have cooled off considerably around here in NEPA. We've had some crazy fluctuations in temperature - was 90s a few days ago, now in the 60s! I'm loving it, now I can cook in the house without sweating to death. With this turn into the chill, decided to make a recipe I saw in the most recent Food Network Magazine called Baked Gnocchi with Chicken. I seem to have collected a number of magazine subscriptions recently, best make good use of them!

Randomly, when I saw this recipe, I happened to have frozen gnocchi. It was one of those things you see in the grocery store and think to yourself "hmm I'm sure this will be useful in the near future". You don't do that? I've been going to a different store each time I need groceries - just trying to check out what's around me. I've found Aldi (a discount grocery where you bring your own bags or pay for them - they have canned food and fresh/frozen food too), a warehouse store called Redner's (where I happened to come across the gnocchi), MaineSource Food and Party Warehouse (I stumbled upon it after I got my hair cut in Kingston - kinda like a Smart and Final but the produce isn't as good) and Quinn's Market (this seems like it will be my go-to grocery store). The first three places seem to be the type of place you would go to and just pick up what they have - no specific list; but I did find pesto at Aldi, the gnocchi at Redner's and some fresh Italian sausages at MaineSource. Each have their purpose but not your everyday kinda store. So all of that explanation to say that I saw this recipe and had gnocchi on hand and thought that I should make it!


Not exactly as pretty as the picture in the magazine, but tasty nonetheless. The recipe called for fresh gnocchi and I had frozen - I made the bechamel sauce (white sauce thickened with a roux) a little on the runny side so that it would boil the gnocchi in the oven. I also used chicken that I had poached for my salads for the week and the poaching liquid as the chicken stock used in the bechamel. Also instead of whole milk, I used 1% milk. In all, the sauce was a little on the runny side (even after being in the oven) but that didn't bother me. I also had the chance to use my broiler in my new oven, which works very well, thankfully. 

Now I need to find an Asian market in the area, anyone know of any?

Thursday, September 5, 2013

The Best Corn Chowder?

I found this recipe at Serious Eats and it caught my eye, particularly since you use fresh corn. I've had the corn for a few days, mainly because the thought of a hot soup was just unbearable. Yesterday, though, was cooler than I thought it was going to be so soup sounded great! The nice thing about this recipe is that they walk you through an interesting way to cut corn off the cob without getting it everywhere:


Use a smaller bowl inside a larger bowl. It worked really well! Once again, I pretty much followed the recipe - you use the spent cobs to flavor a corn broth:


It's a great idea and really brought a lot of flavor to the soup. I also cut down the half and half to one cup (also I used fat free half and half) and I used my immersion blender to make the soup pretty smooth:


The recipe is called The Best Corn Chowder. It was pretty good, but I don't really like to call something "the best" because the next time I make it, it might be better ;) It was a pretty fast recipe, one that is easily made after work on a weekday. Yum! If you try it, weigh in...is this the BEST corn chowder?

Monday, September 2, 2013

Chocolate Chia Pudding

Some of you might find this shocking, but I can occasionally make something that I don't like. Case in point is this Chocolate Chia pudding. I saw this recipe as I was looking at my rss feed - it's one of those situations where I had all the ingredients on hand and as a concept sounded good. The recipe came out of the Food Network blog and the ingredients going into it were good...in the end it was not sweet enough for me - but I'm not a dark chocolate person, so it might be sweet enough for you, guess you will just have to try it out yourself!


Chocolate Chia Pudding
4-6 servings
• 2 cups almond milk
• 2 tablespoons maple syrup
• 2 tablespoons cocoa powder
• 2/3 cup chia seeds
In a medium bowl combine the milk, maple and cocoa. Whisk to combine. Whisk in the chia seeds. Cover and refrigerate for 8 hours. Stir before serving (add extra milk to thin to desired consistency).

I happened to use up the last of my chia seeds making this, so I was determined to fix it. I added powdered sugar to taste, mainly because I knew it would incorporate well (I do realize that I am totally undermining the original intent of this recipe) and I added a tablespoon of peanut butter...because PB and chocolate go together well (but it took some doing to get THAT incorporated, basically I just put it back in the fridge to melt). Now it's yummy! So in the future, I would add more maple syrup at the beginning. Just because I didn't like the initial offering, doesn't mean I can't fix it. I think that is what tests your mettle as a cook - if it doesn't taste right, futz with it until it does!!

Casseroles for the Freezer

As you all know, I have recently moved. The best thing about moving is that I got all my own stuff back!! (It has been in storage for the past 2 years while I was in residency) Part of that stuff was my chest freezer. I freeze pretty much everything. I have found over the years that cooking for one person sucks. I'm sure I've mentioned that before...but it really does. What does a person who likes to cook to do? Well I found that I can make the dishes I want to make then portion them into individual servings and freeze them. They basically turn into my own Lean Cuisines!! I haven't found anything so far that doesn't freeze well - but I usually cook big batches of pasta with tomato sauce, soups or casseroles. I've heard you can freeze milk but I'm not much of a milk drinker...but then you have those recipes that use 1 cup of milk...hmmm. I also have heard recently that in those type of situations you could use powered milk...something to try in the future. But I digress...my freezer is empty so I have decided to make some casseroles to stock it.

The first casserole I decided to make was from the most recent issue of Food Network Magazine. I've had a craving for enchiladas recently so this recipe particularly spoke to me. The best part is that there is chicken AND beef in it...yum! I pretty much followed the recipe as is with some lower calorie additions - I had chicken stock around from poaching chicken so I used that, I used a leaner ground beef (93% lean), and I used less cheese, probably 2 cups in the whole dish and it was a reduced fat cheese (2% milk). Also I split the dish into two casseroles - one I cooked then portioned out and the second I froze before baking for a future date.

Tortillas on bottom

Cheese, then beef layer

More Tortillas

Chicken layer (has cheese in it)

Final layer of tortillas, top with enchilada sauce and cheese, then bake

Nom Nom Nom
It was very tasty (I had it for lunch today) and I had 5 single-serve containers plus a whole casserole for the freezer!! Yay!!

The second casserole I made today is from The Kichn. Last week there was a post about King Ranch Casserole, which is apparently a pot luck staple in Texas. This version has less processed ingredients by making your own sauce - apparently the original version uses cream of chicken and cream of mushroom soup. Since I have never had this before and I do not live in Texas, I have taken some liberties with the recipe. I guess the original version used tortilla chips so in the redone version, you toast the tortillas in the oven...nice sentiment but seriously, I'm going to pour a liquid over these things - so I skipped that part. I also used less cheese and split the casserole into two - one to bake now then portion and one to freeze. About to put the one to bake in the oven so I don't have a verdict on how the whole thing tastes BUT I tasted the filling for seasoning and it was darn tasty...

Looks kinda like the above casserole, but I assure you it is different!!
And on a side note, under random Pinterest ideas that work - pulling chicken with the KitchenAid mixer...

Before

After
It really works! I did this twice - with cold chicken from the fridge and room temp chicken I just cooked - the cold chicken shredded much easier. Also, the chicken has a tendency to fly out of the mixer, so this might be a good use for the splatter shield that comes with the mixer. Plus - it was fun! Happy Labor Day all!